/
There’s something truly magical about a Colorado Springs wedding. From rustic venues to luxurious resorts, this unique city offers everything you need for a breathtaking celebration. (With a backdrop that features Pike’s Peak and the front range mountains!) Looking to be swept away in natural wonders and famous panoramic views? A Colorado Springs wedding could be just what you’re looking for.
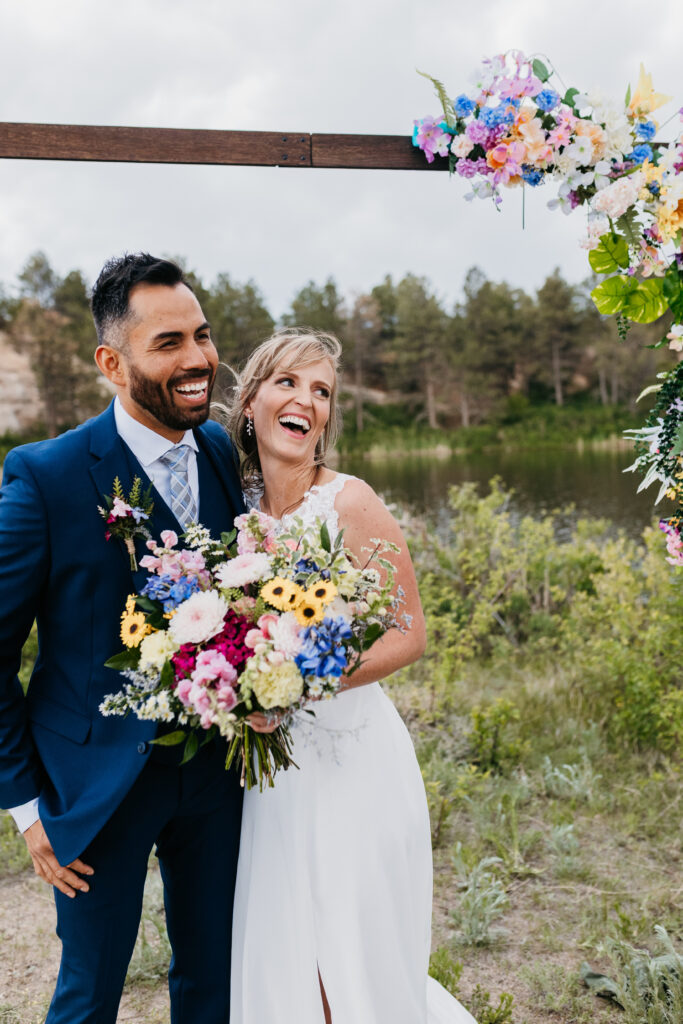
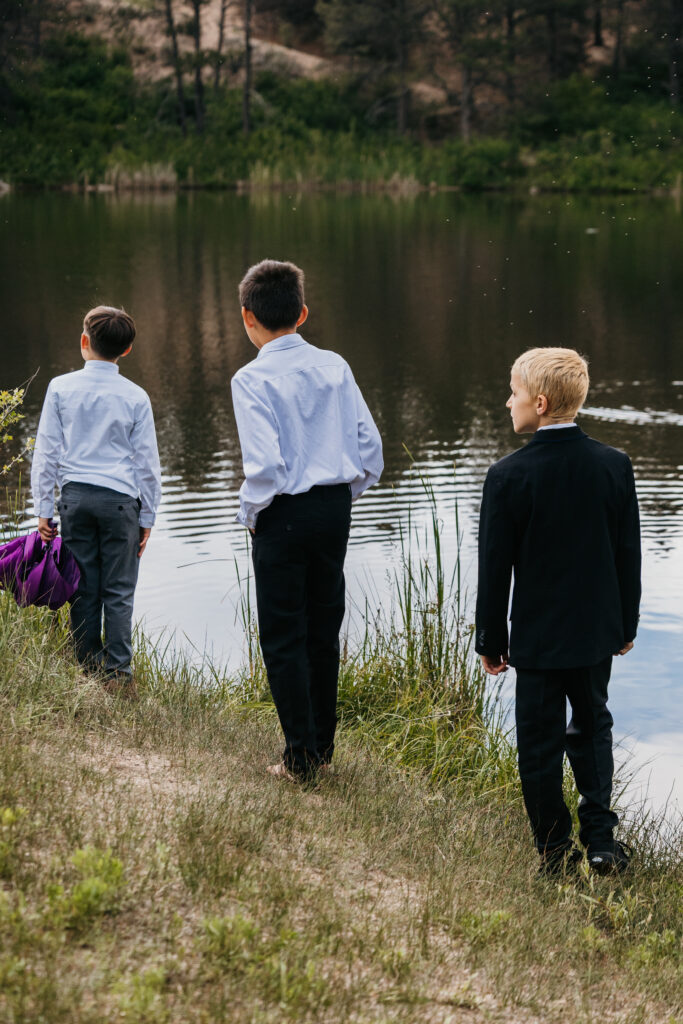

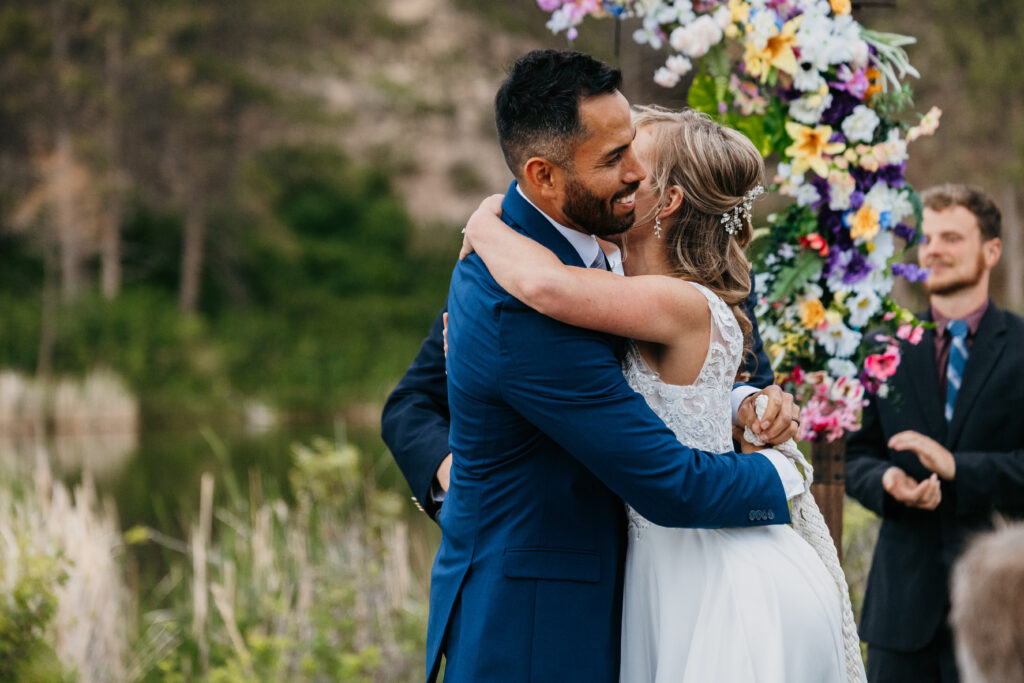

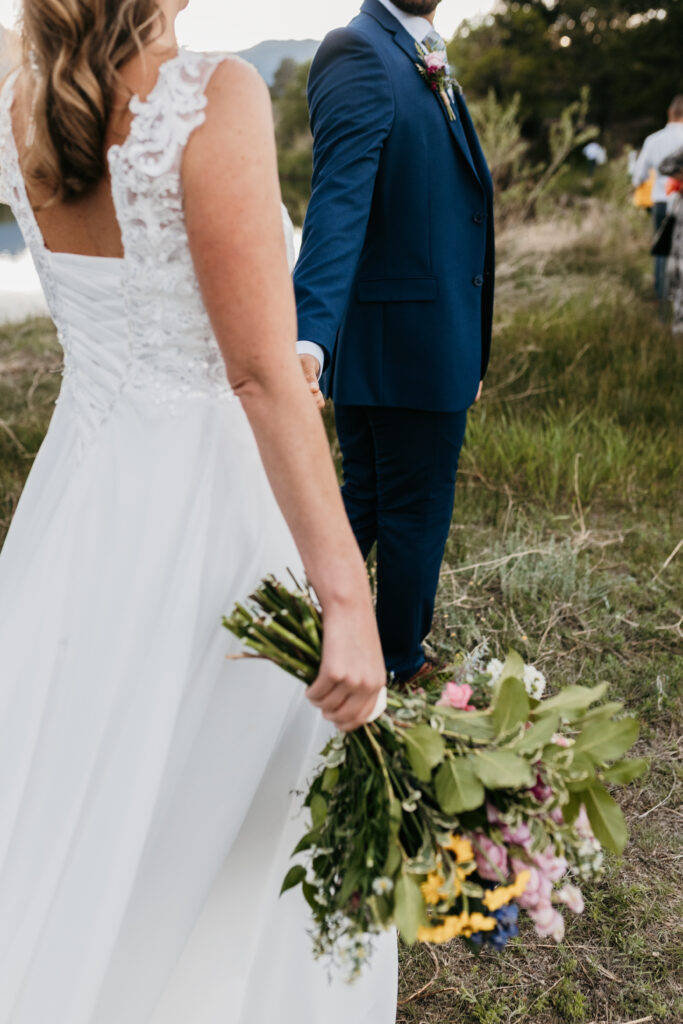
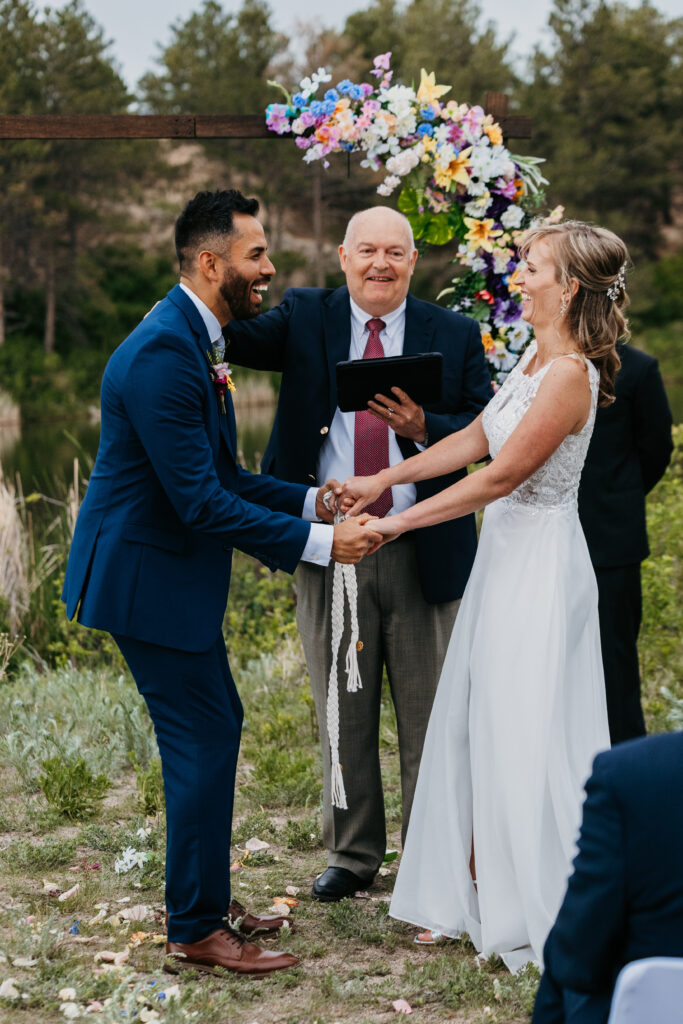
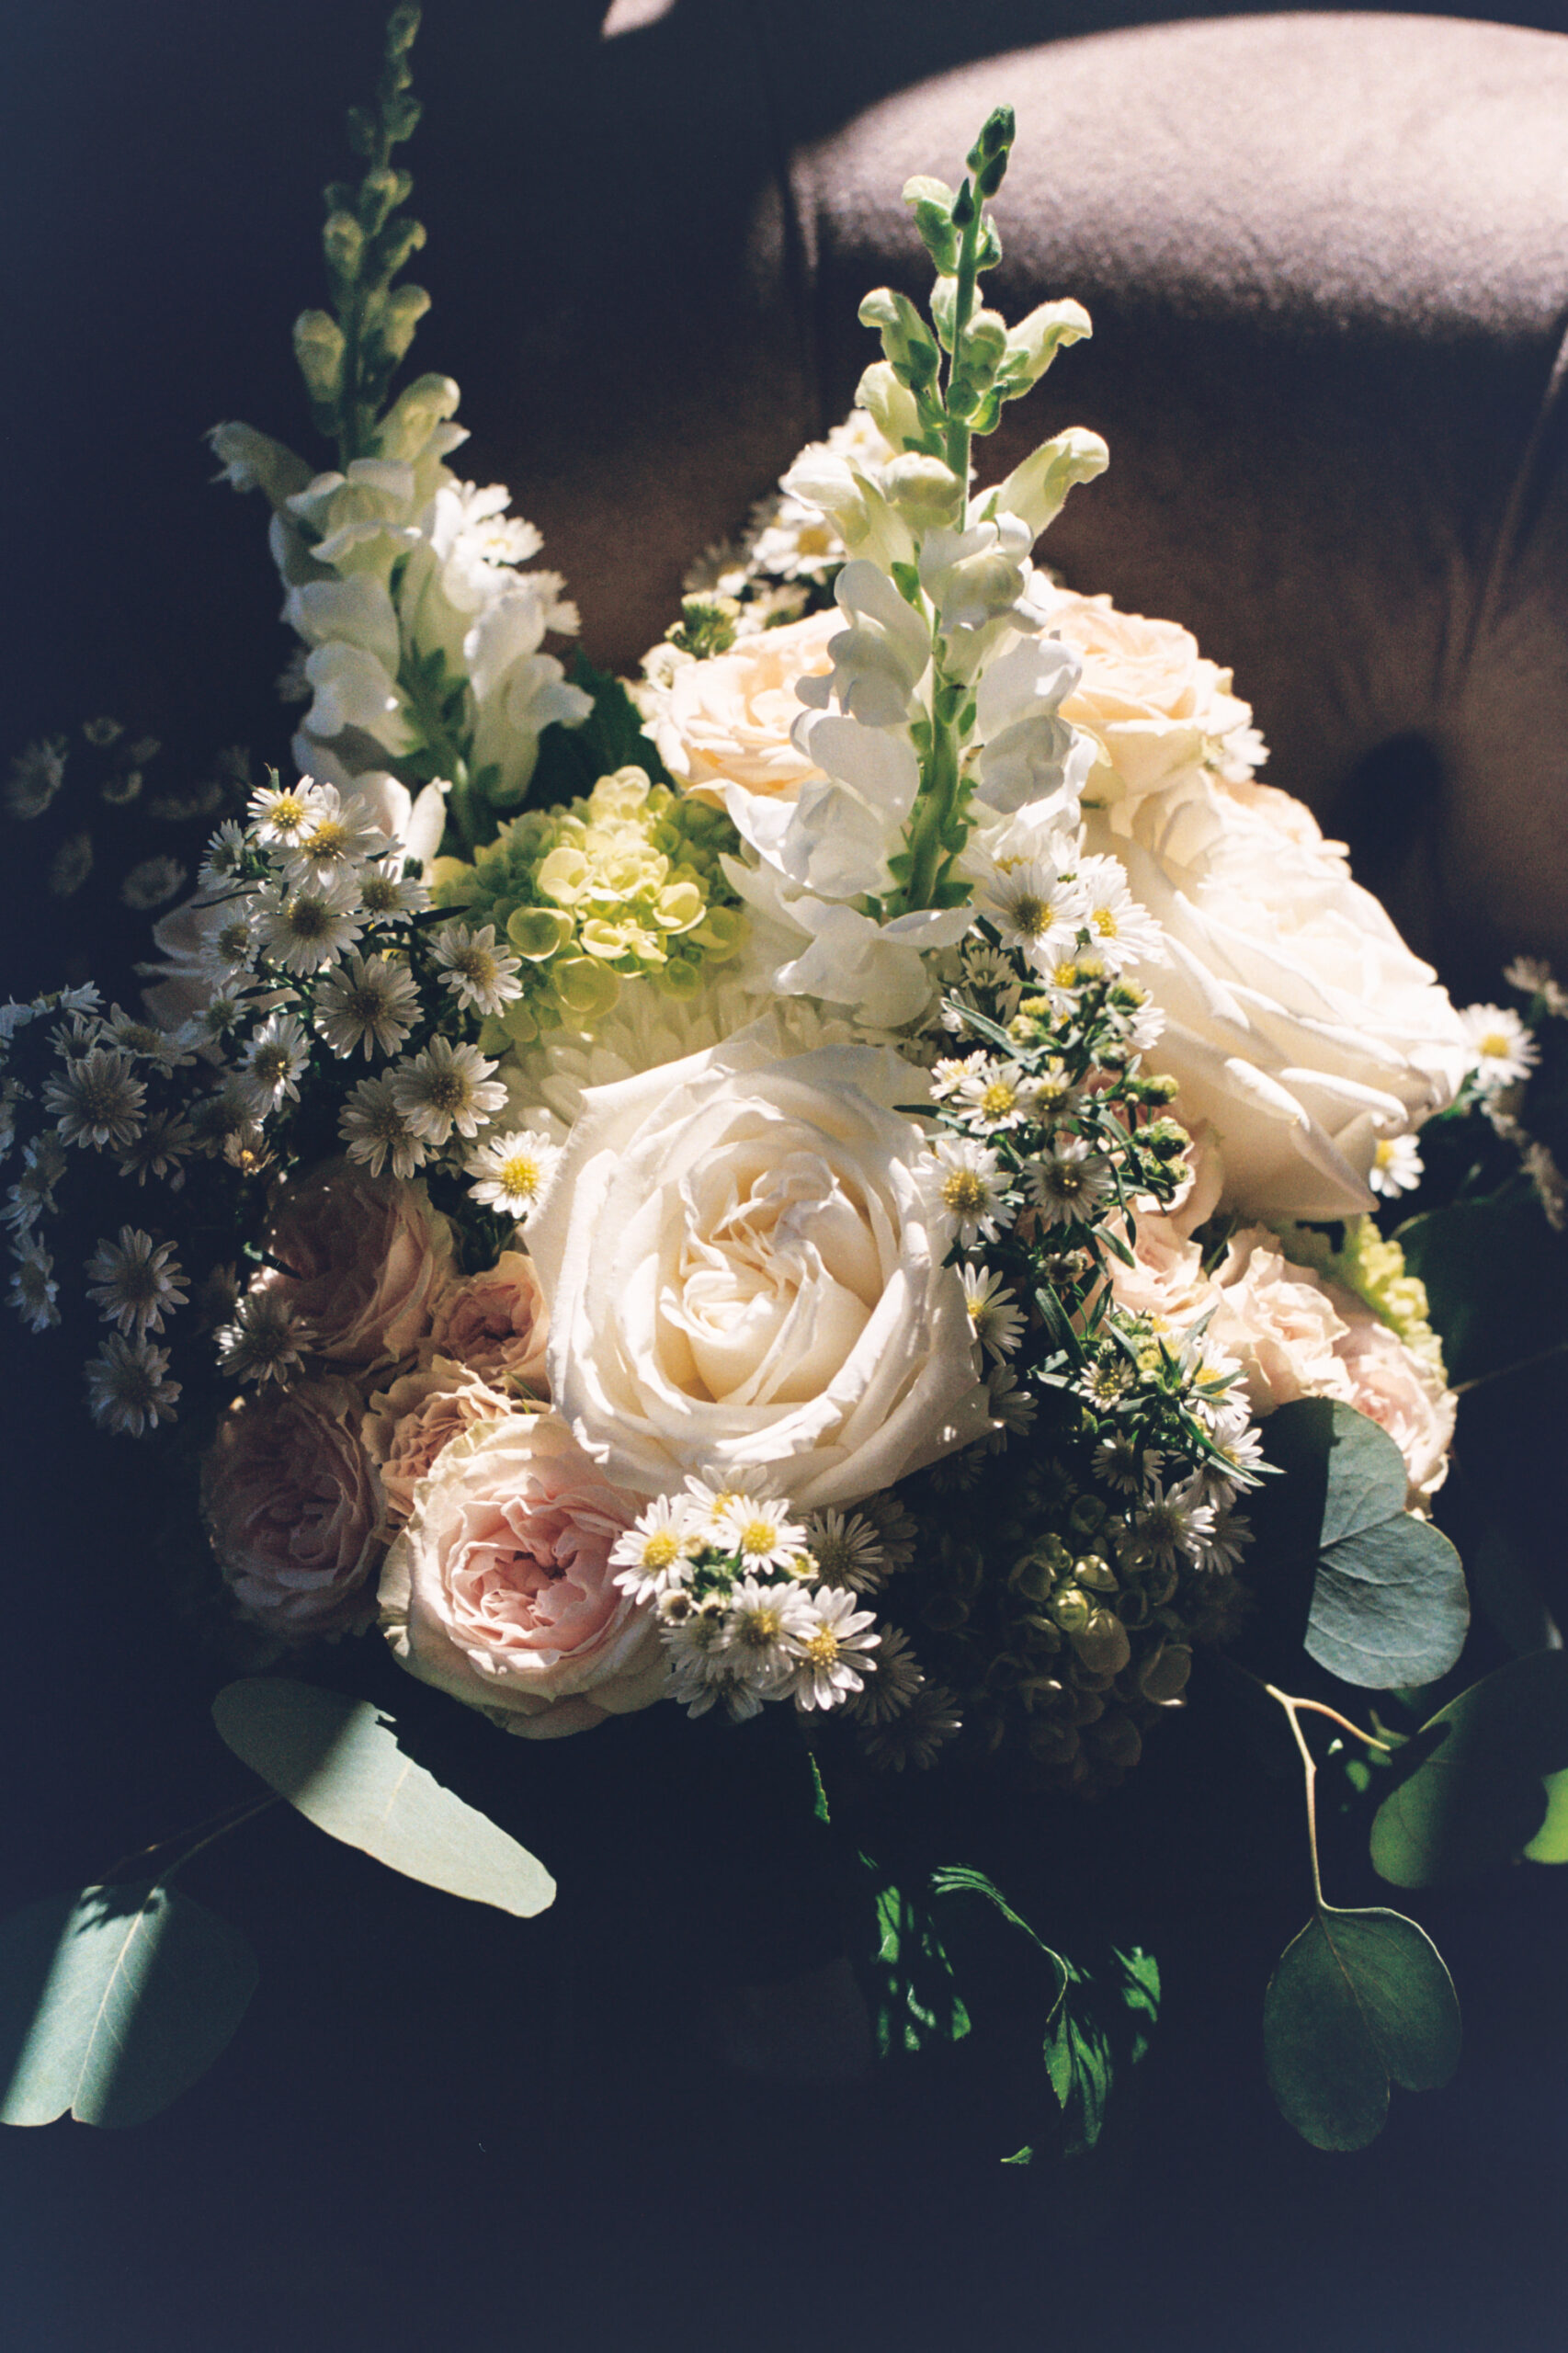
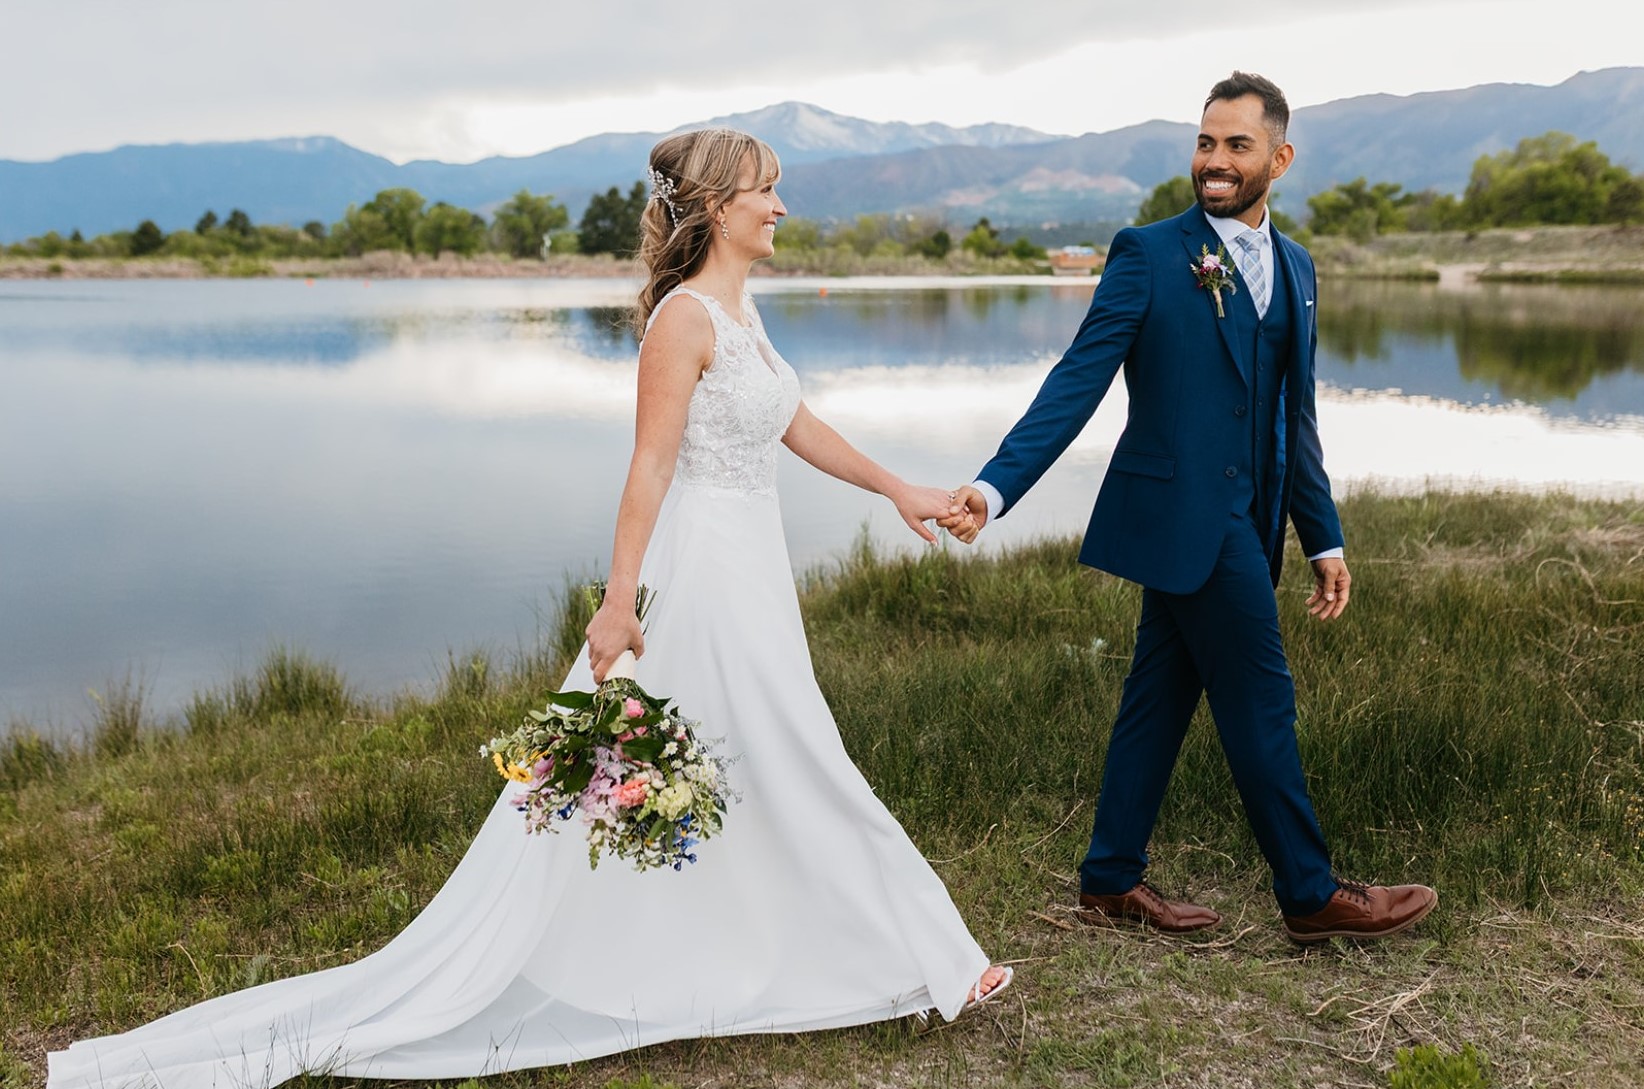
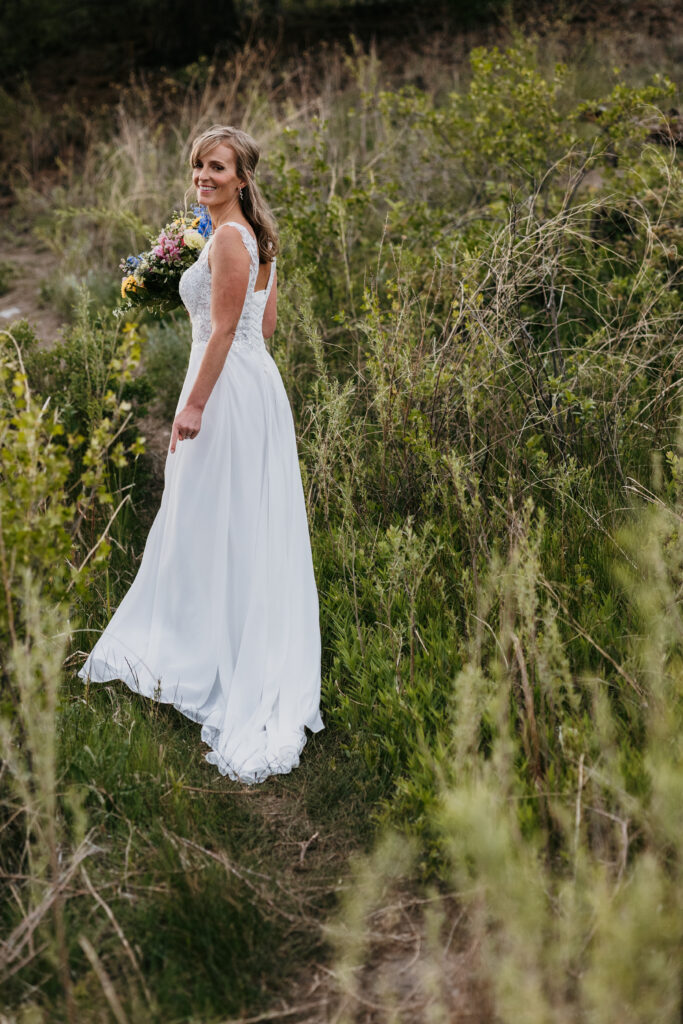
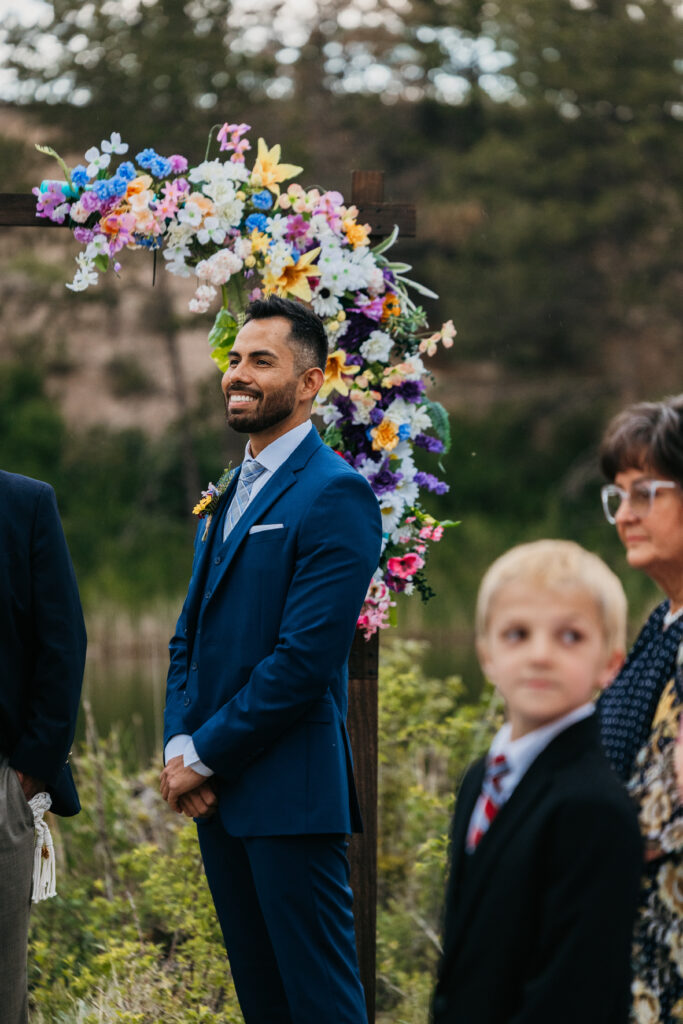
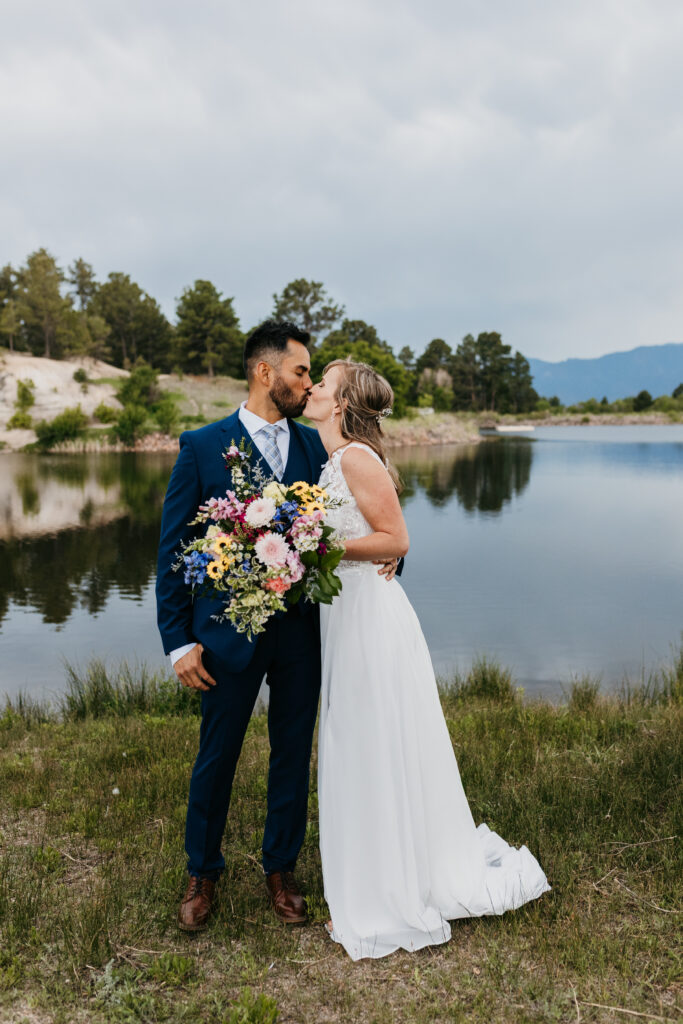
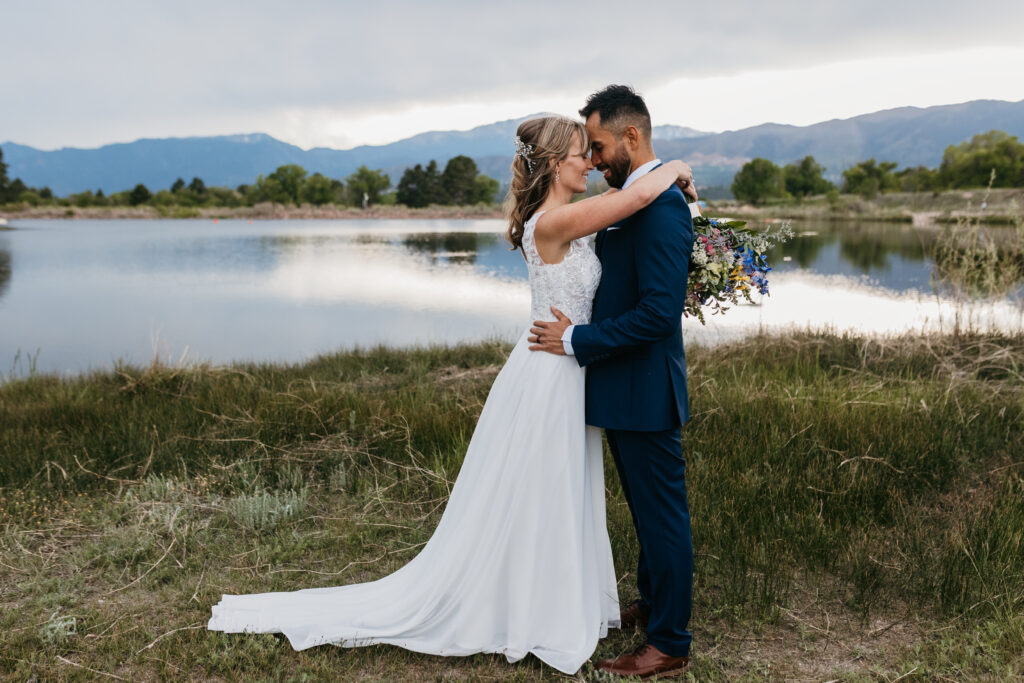
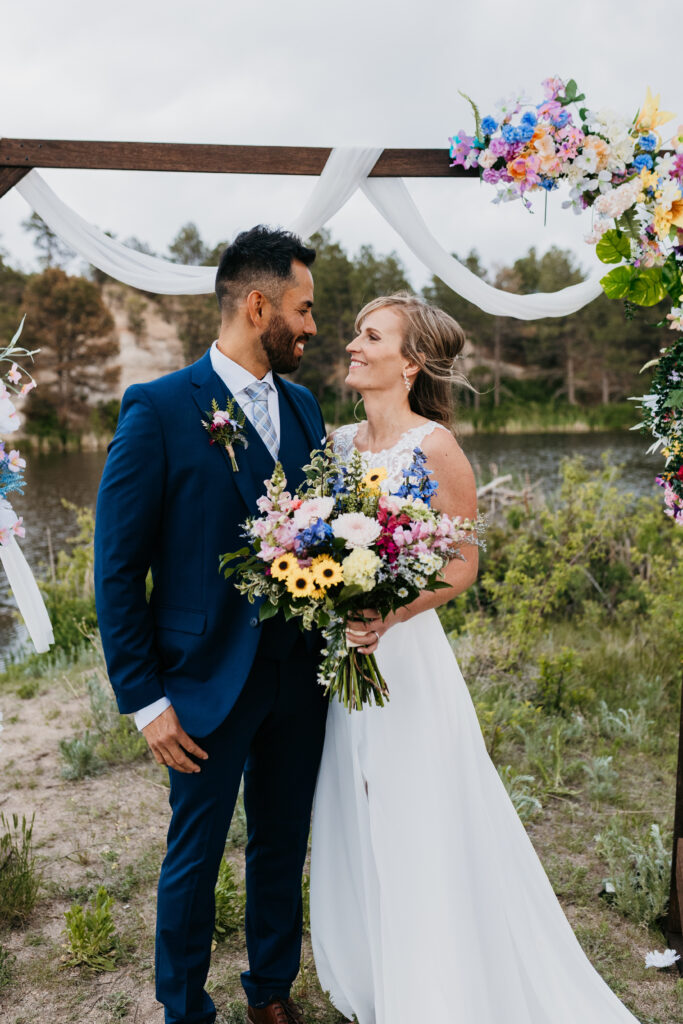
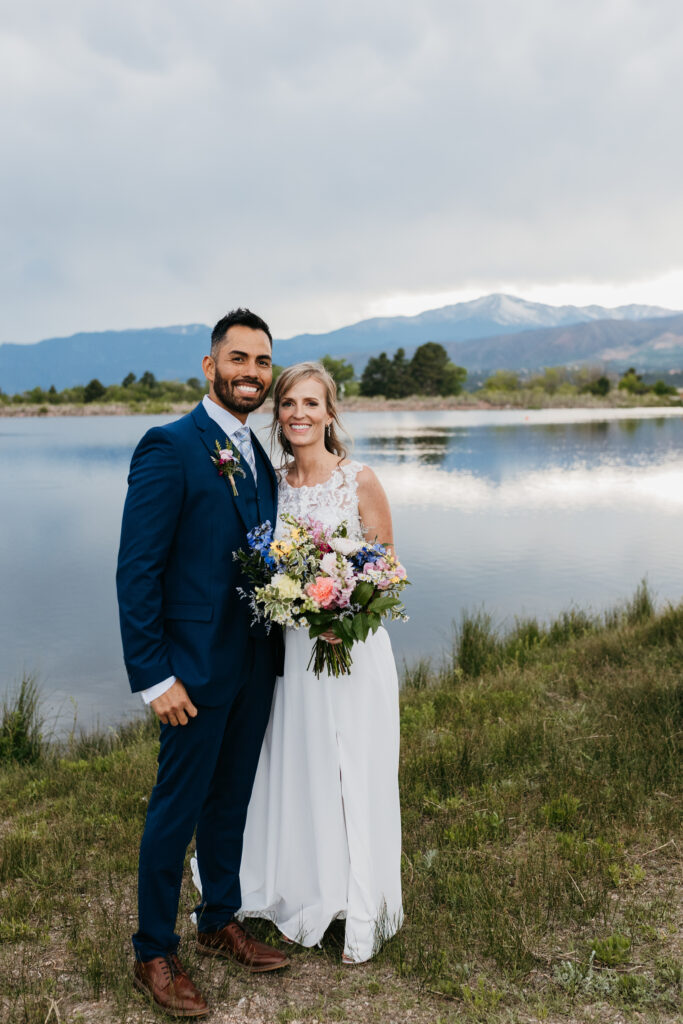
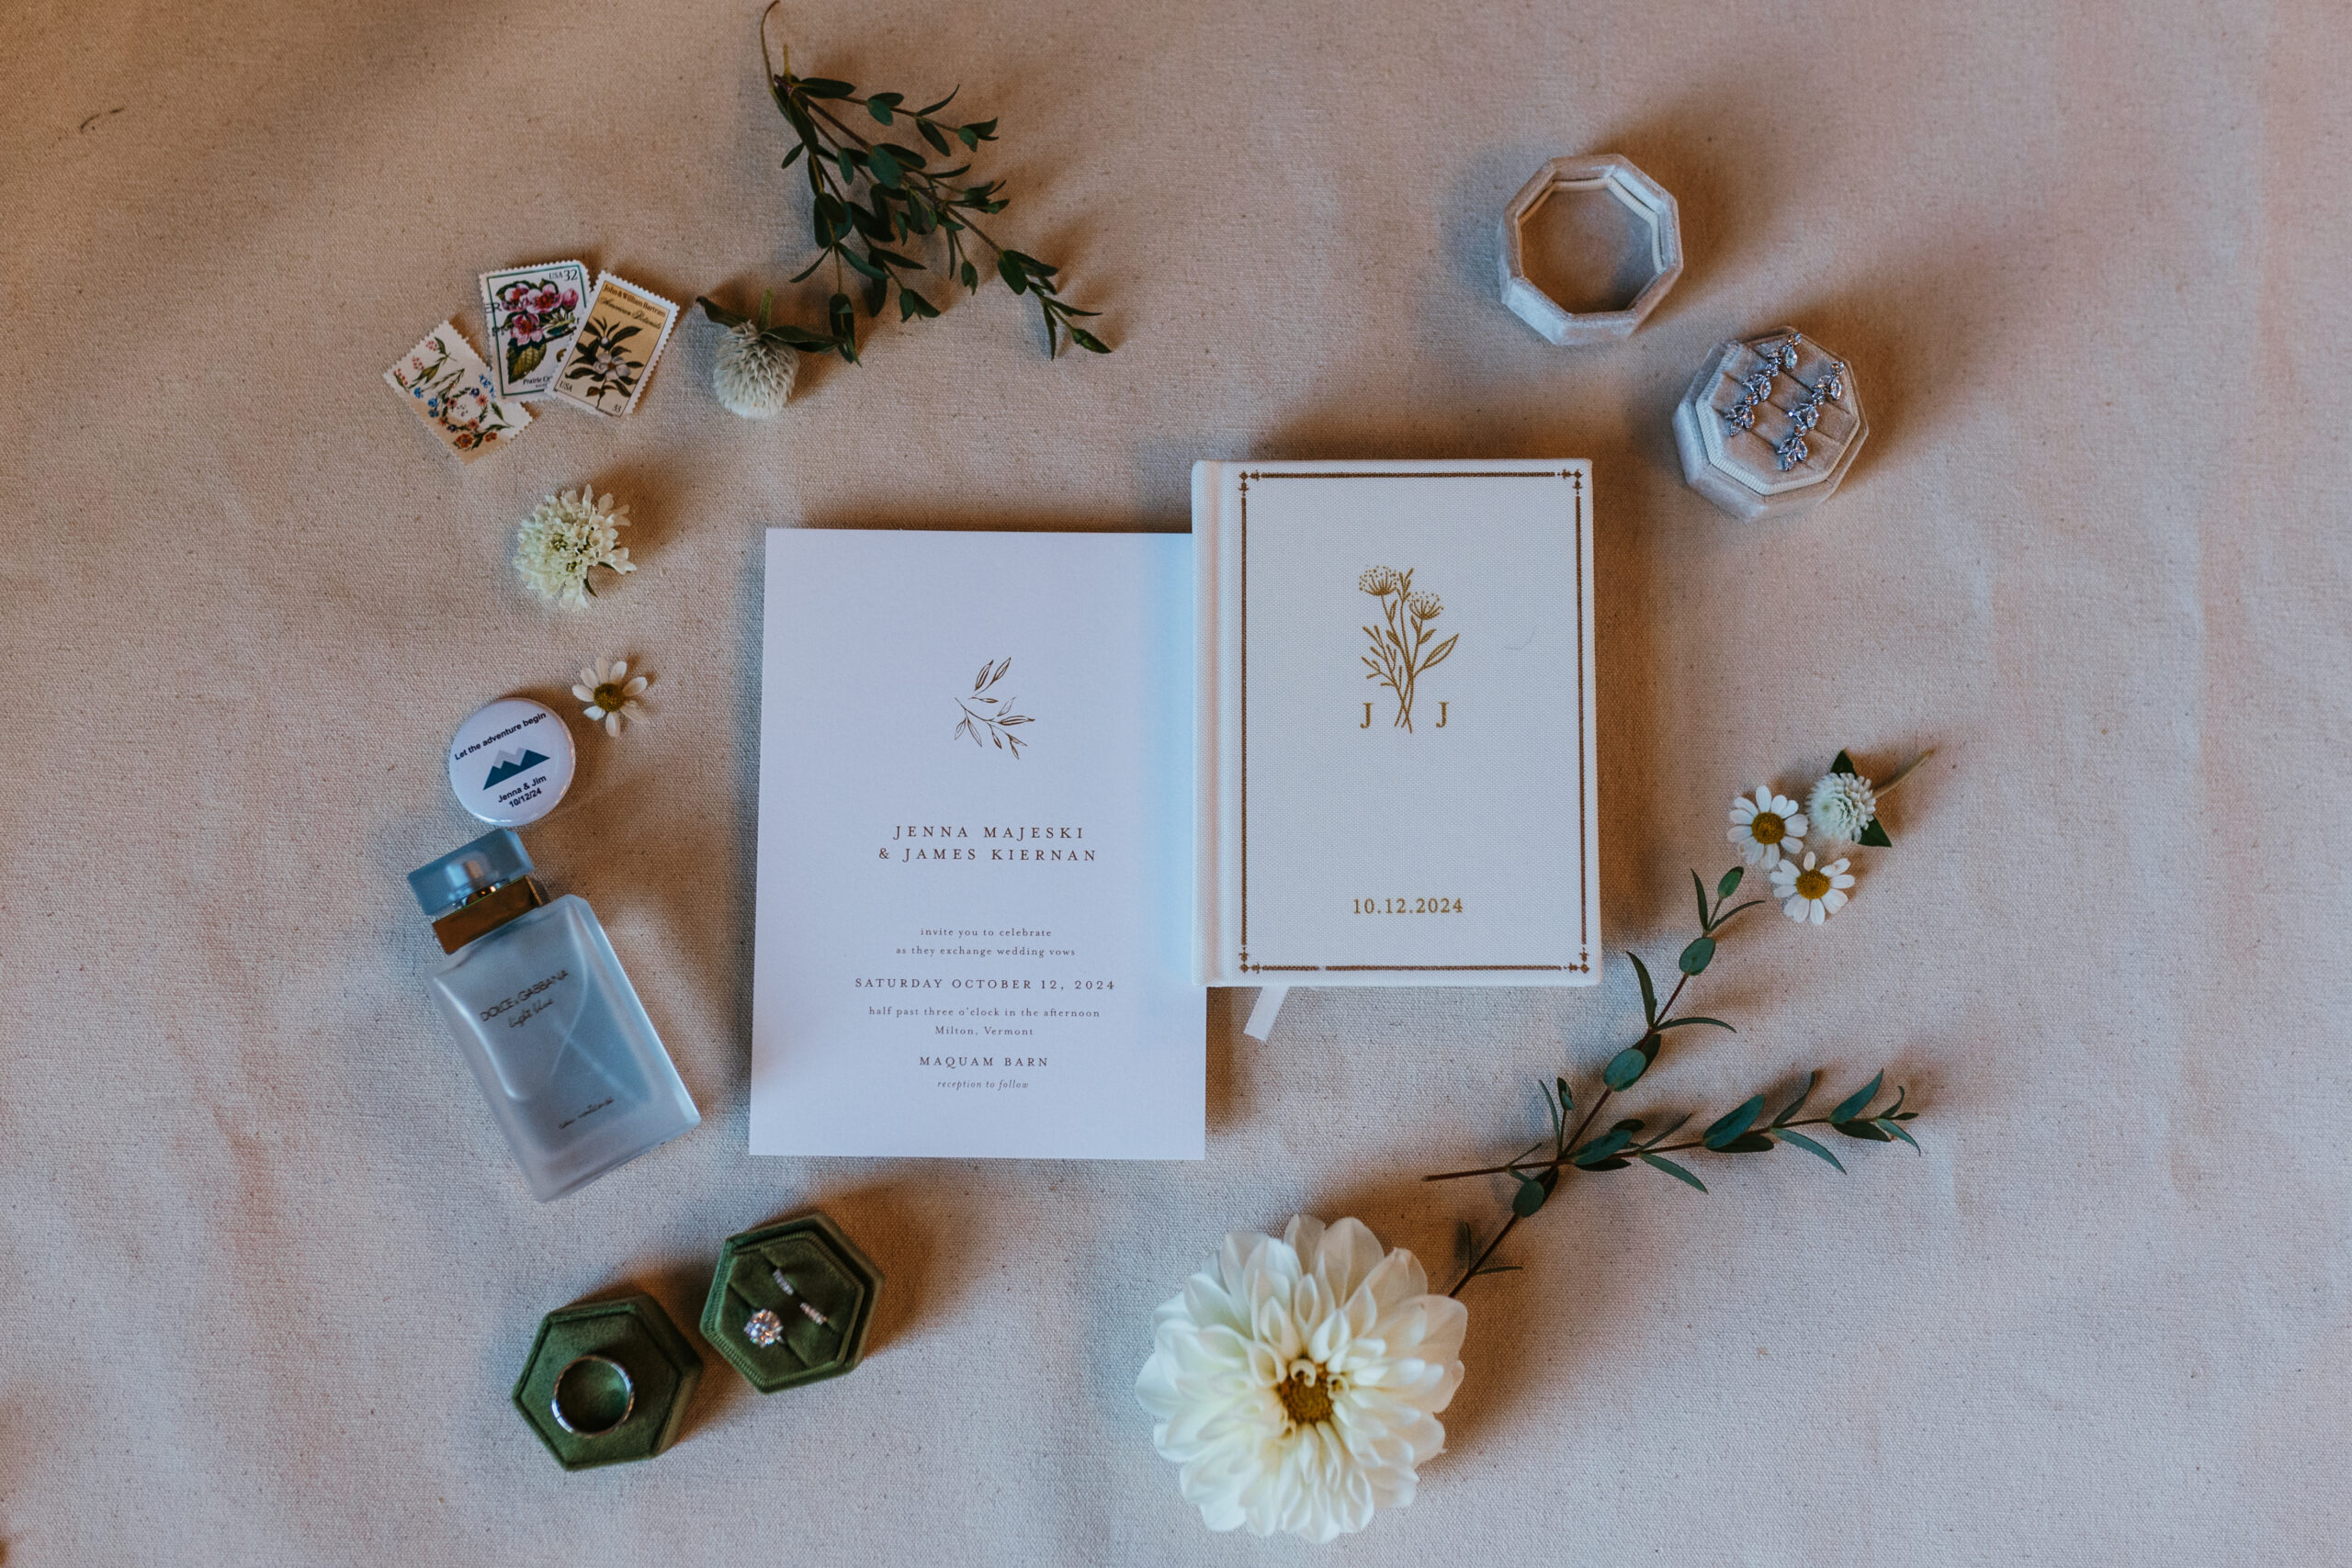
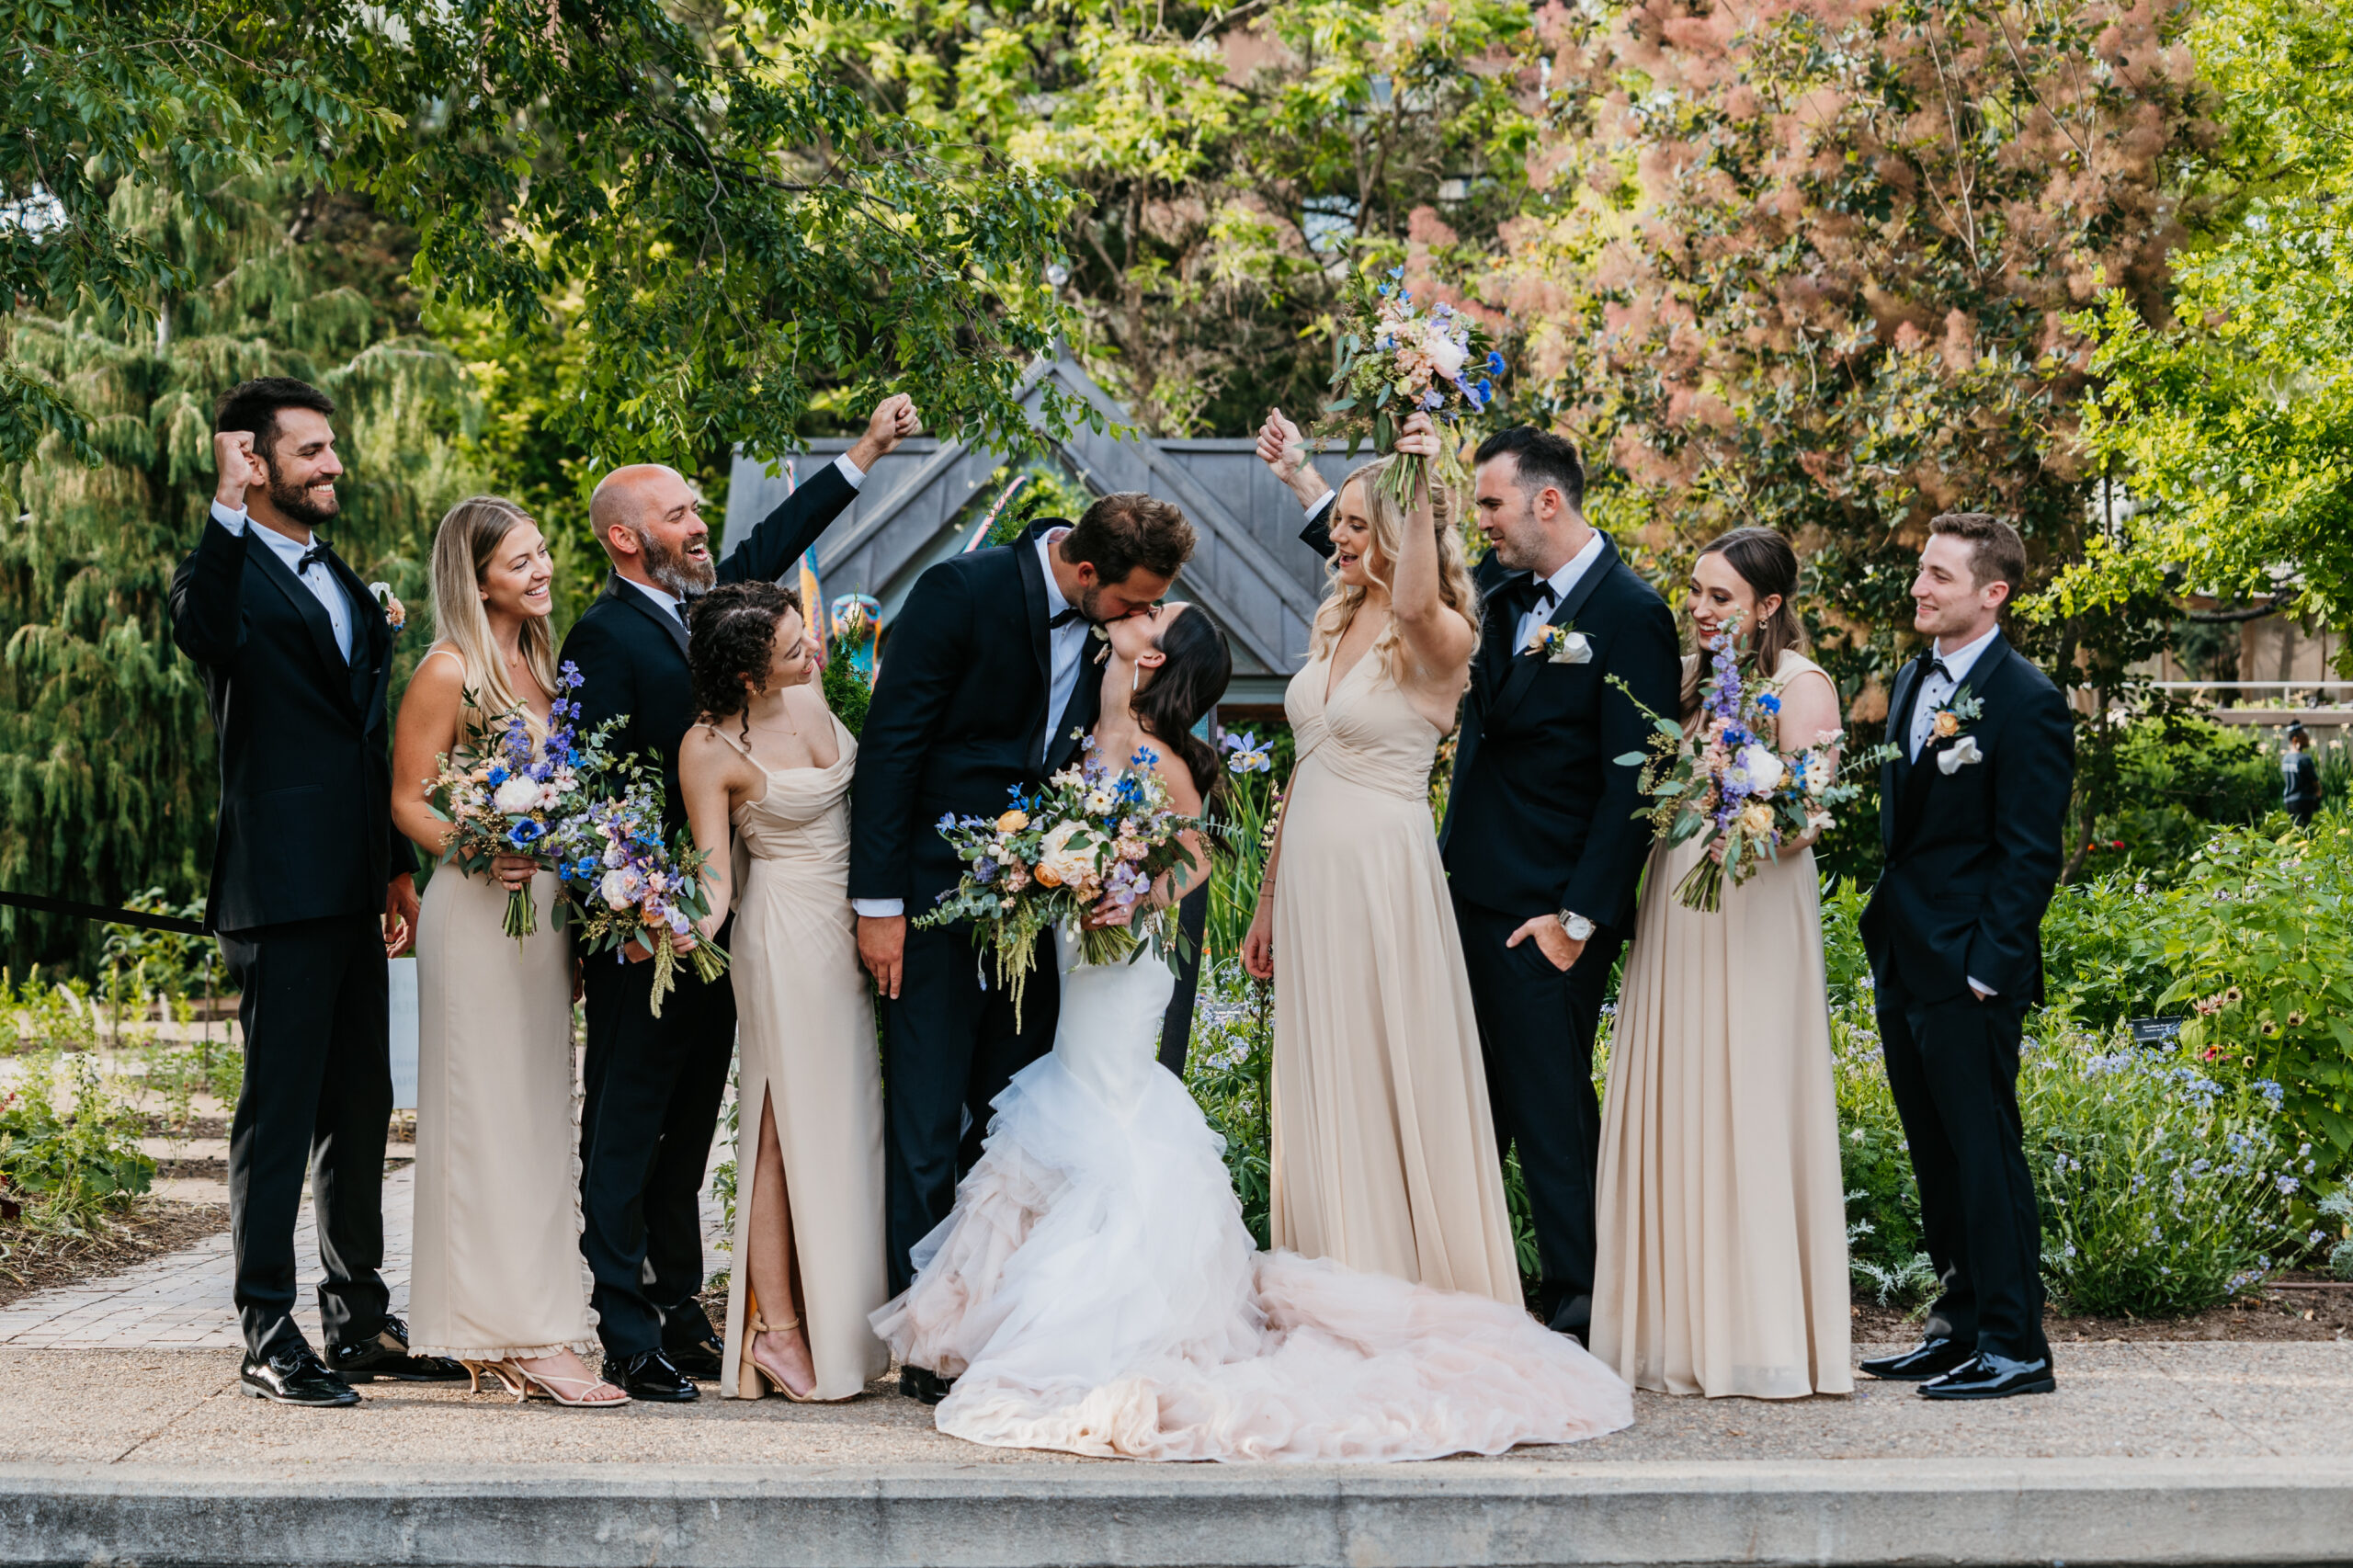
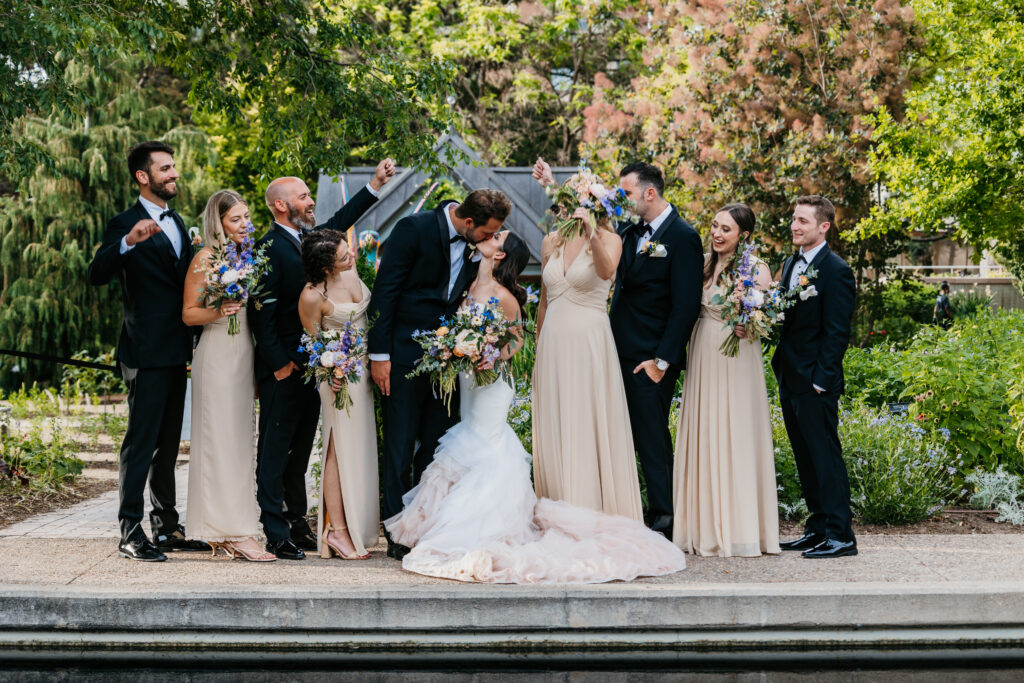
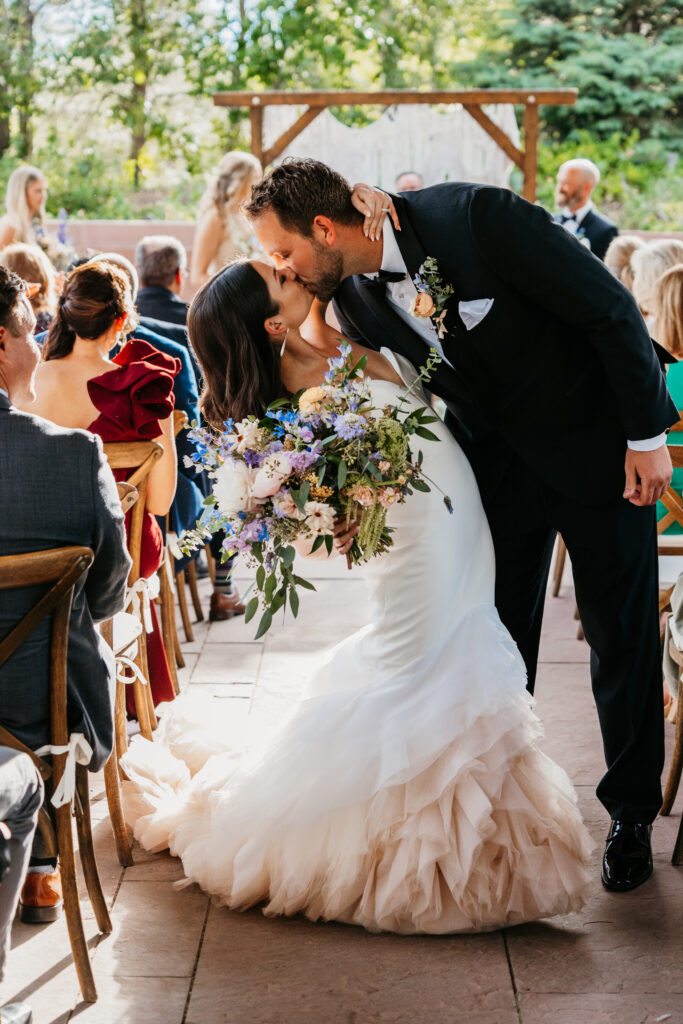
Holly and Rico tied the knot this spring at Kettle Lake, near the Air Force Academy on the north side of town. If you’re eligible through the military, the Academy has a stunning chapel on campus, along with some pretty amazing grounds for photos. But if that’s not your scene, there are plenty of other indoor spaces for a perfect Colorado Springs wedding. Check out a few of my favorites here, and plan an indoor ceremony guaranteed to be safe from the seasonal elements.
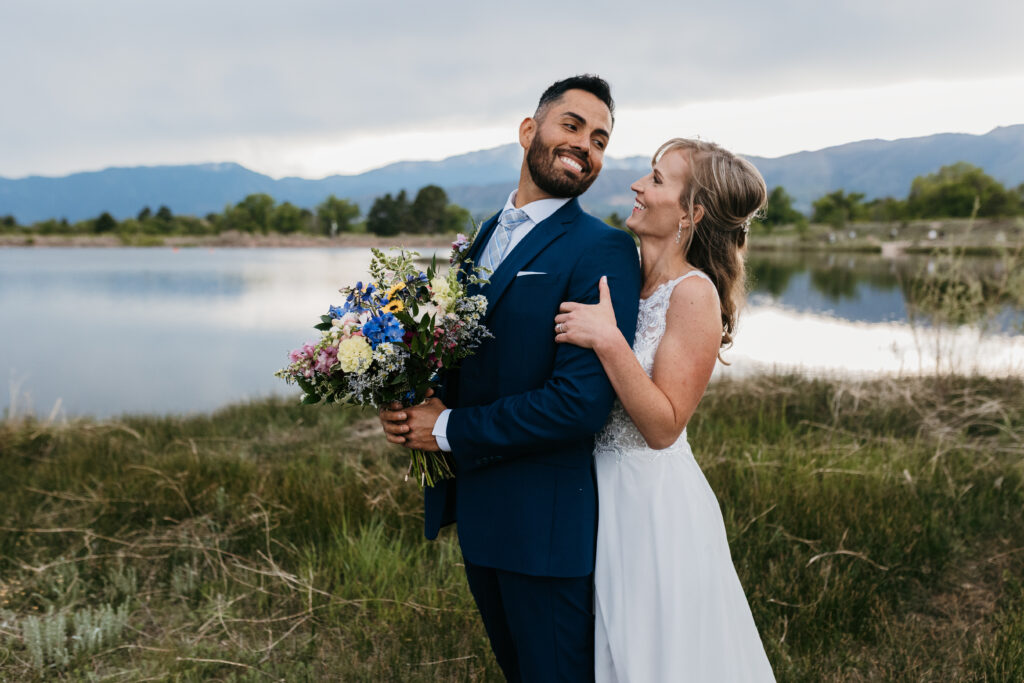
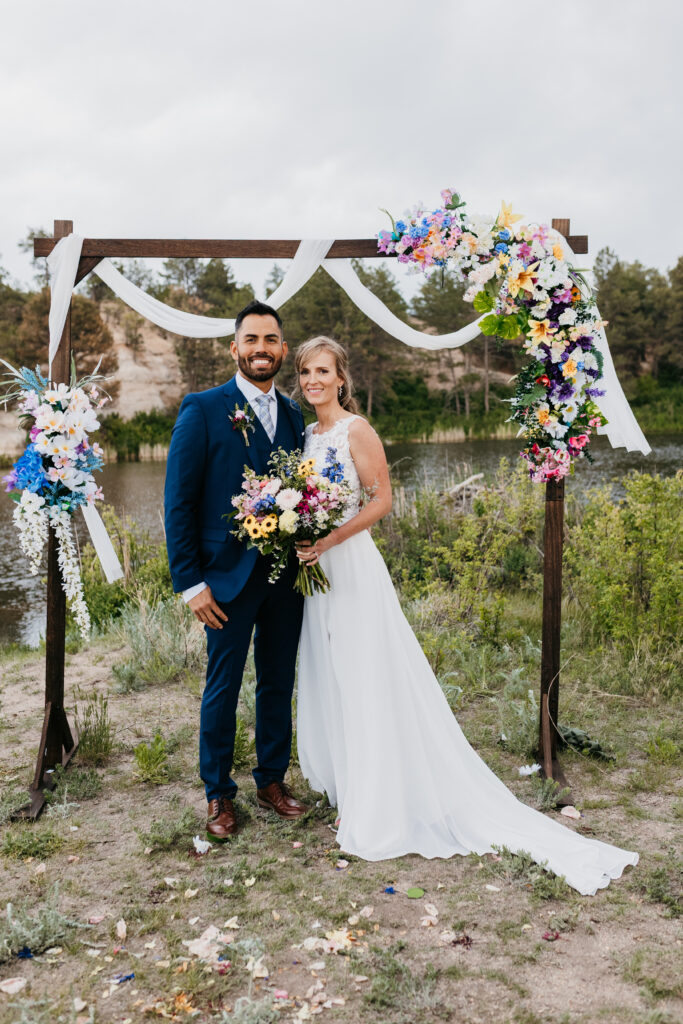
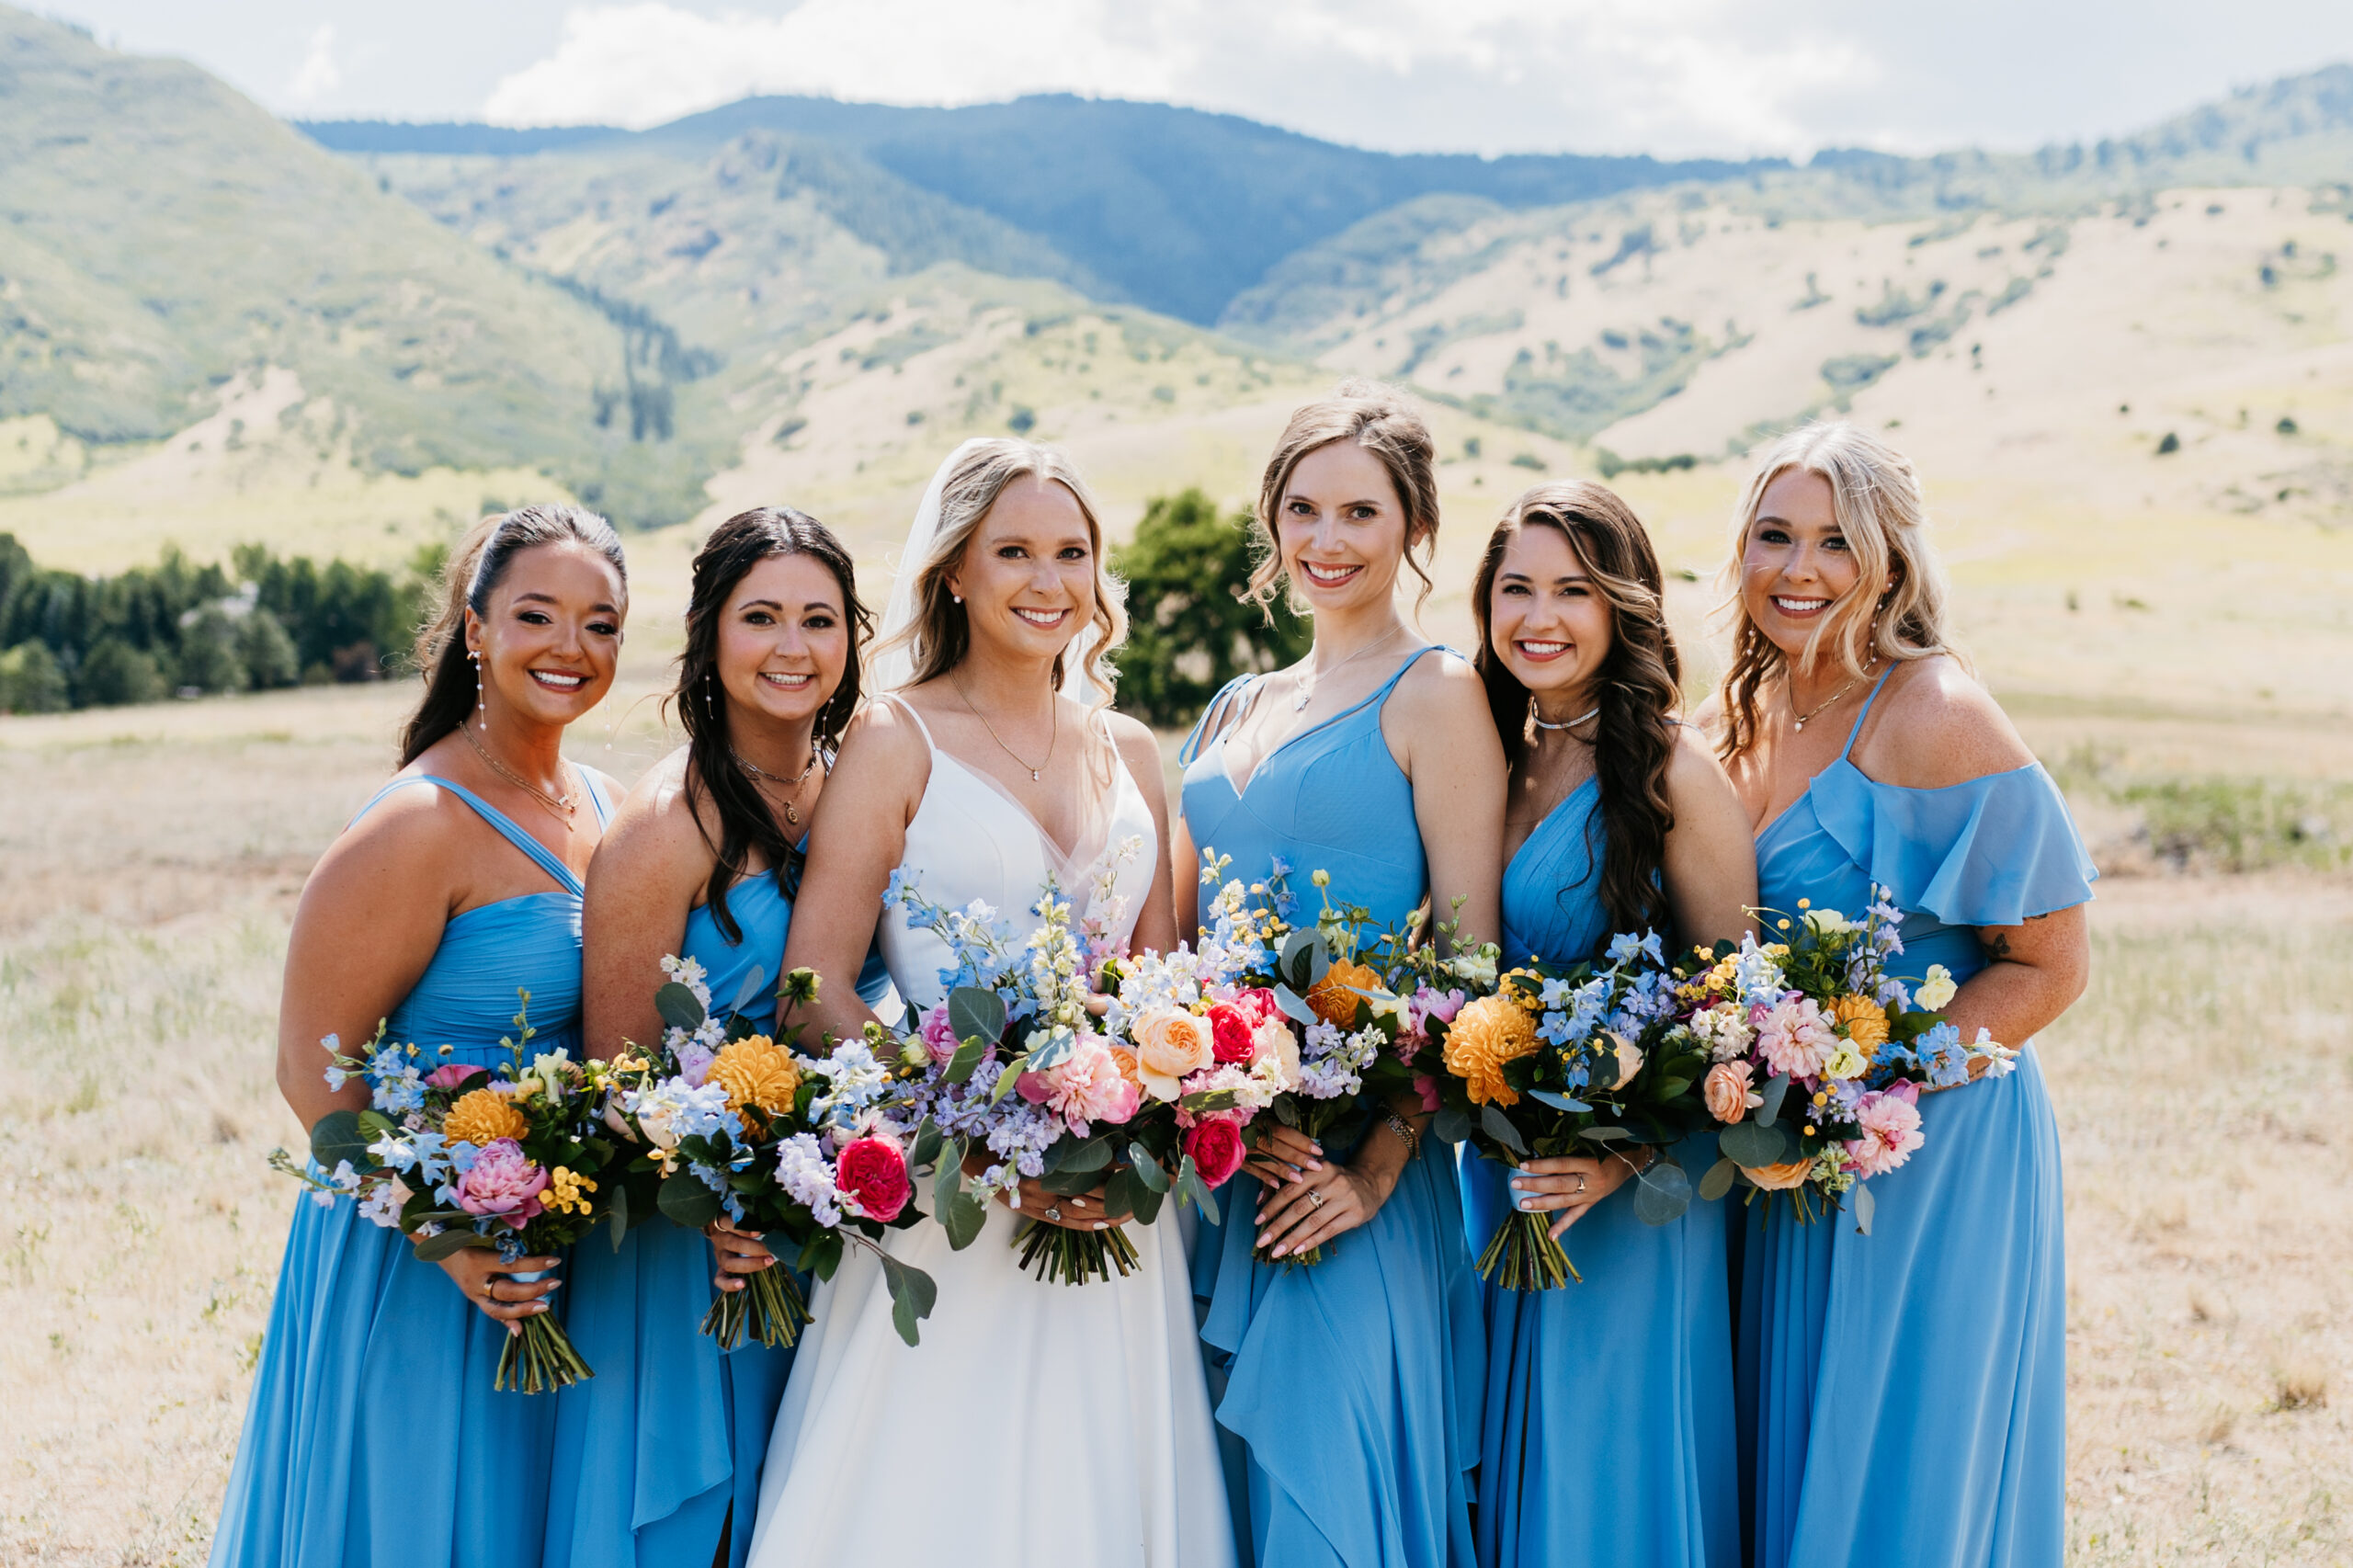
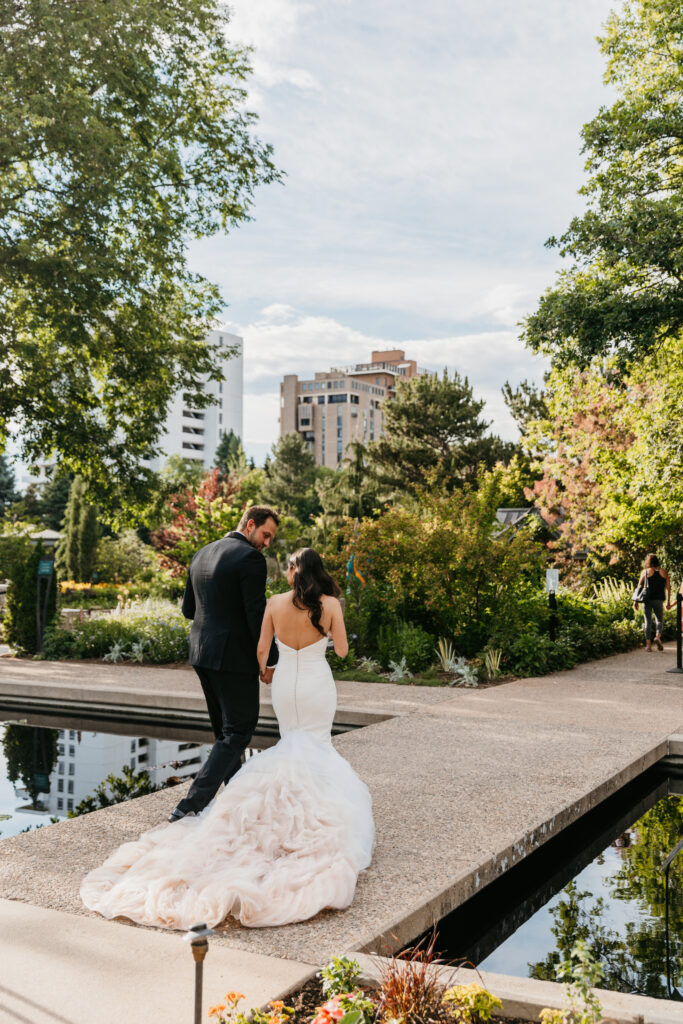
If the mountains are the focal point of your day, there are plenty of outdoor venues to choose from that highlight the city’s gorgeous natural landscapes. From Garden of the Gods to Pike’s Peak Ranch, you can let mother nature be your centerpiece. Hillside Gardens can offer a great rustic vibe, while Manitou Springs and Old Colorado City can provide a little more funk.

Did you know Colorado Springs enjoys more than 300 days of sunshine each year? That’s right. And low humidity, too! Even the April showers don’t hang over the whole afternoon. So when your guests aren’t busy watching you say “I do” under the sun, they can enjoy plenty of adventures. Think hiking, rock climbing, ziplining, or exploring the patios of charming local restaurants and breweries!

If you’re thinking a smaller micro-wedding or elopement, a Colorado Springs has got you covered. In fact, Colorado is one of the few states that allows couples to legally marry themselves without an officiant. That makes it ideal for elopements or non-traditional ceremonies!
Ready to start planning? I’ve been photographing rocky mountain weddings for more than a decade! Read through my wedding packages here, then reach out to confirm your dates. I’d love to unpack your vision and bring your dreams to life!
/
Denver weddings are always a good idea. Whether you’re a Colorado native, current Colorado resident, or even if you live anywhere else in the world, this wedding destination offers a unique, sophisticated city environment, mixed with Colorado’s rugged, outdoor beauty. Not sold yet? Keep reading. As a Colorado wedding photographer for more than a decade, I’m here to tell you all the amazing things Denver weddings have to offer!
Diverse Landscapes
Denver’s vibrant culture brings a thriving arts and entertainment scene that can liven up any event or celebration. The city offers a sophisticated, one-of-a-kind shopping and dining experience—that also happens to be tucked into the base of the Rocky Mountains! It’s the best of both worlds, really. You’ve got the diverse culture and convenience of a big city, plus the stunning backdrops of snow-capped mountains and picturesque photo locations.
More than that? The Denver International Airport is super convenient for any out of town guests. That’s why Denver weddings can make the perfect weekend getaway for you and your friends/family! While they’re in town, your guests can enjoy outdoor adventures like climbing, hiking, skiing, or visiting National Parks during the day, then enjoy the cityscape, culinary scene, and nightlife Denver is known for each evening. Denver has plenty of hotel and lodging options, including honeymoon suites, and plenty of transportation services, too. So even though your big day can feel like a gorgeous mountain event, you can still take advantage of major city conveniences.
Bonus: There’s no waiting period for a marriage license in Colorado, and no witnesses are required to seal the deal.
Denver Weddings: Get the Best in the Business
Because it’s such a unique location, Denver is a city full of outstanding wedding professionals. From local catering and linens to planners and florists—all of whom know the area (and each other!) well. You’re sure to find the perfect fit for your style and budget. Plenty of videographers, bands and entertainment call Denver home, too. Along with some of the best suit supply stores, bridal boutiques and beauty services in the business! And did I mention the diversity of the location? A Denver wedding gives you your pick of ceremony and reception sites, from historic buildings to outdoor parks and modern wedding venues.
Did you know: Most Colorado Springs wedding photographers cover Denver weddings, too! We know how beautiful this state is, and how many great locations there are to tie the knot. It would be silly to limit ourselves! Loving your wedding photos is the most important. So if you have a Springs photographer you simply love, ask for the coverage range of their services, and if any mileage fees apply. Chances are, we’d love to work with you!
Whether you’re new to my site or you’ve been here for years, I’m so glad you’re here. Let’s get started and bring your vision to life! I find such joy in capturing your love stories, from Denver to Colorado Springs, and beyond!