/
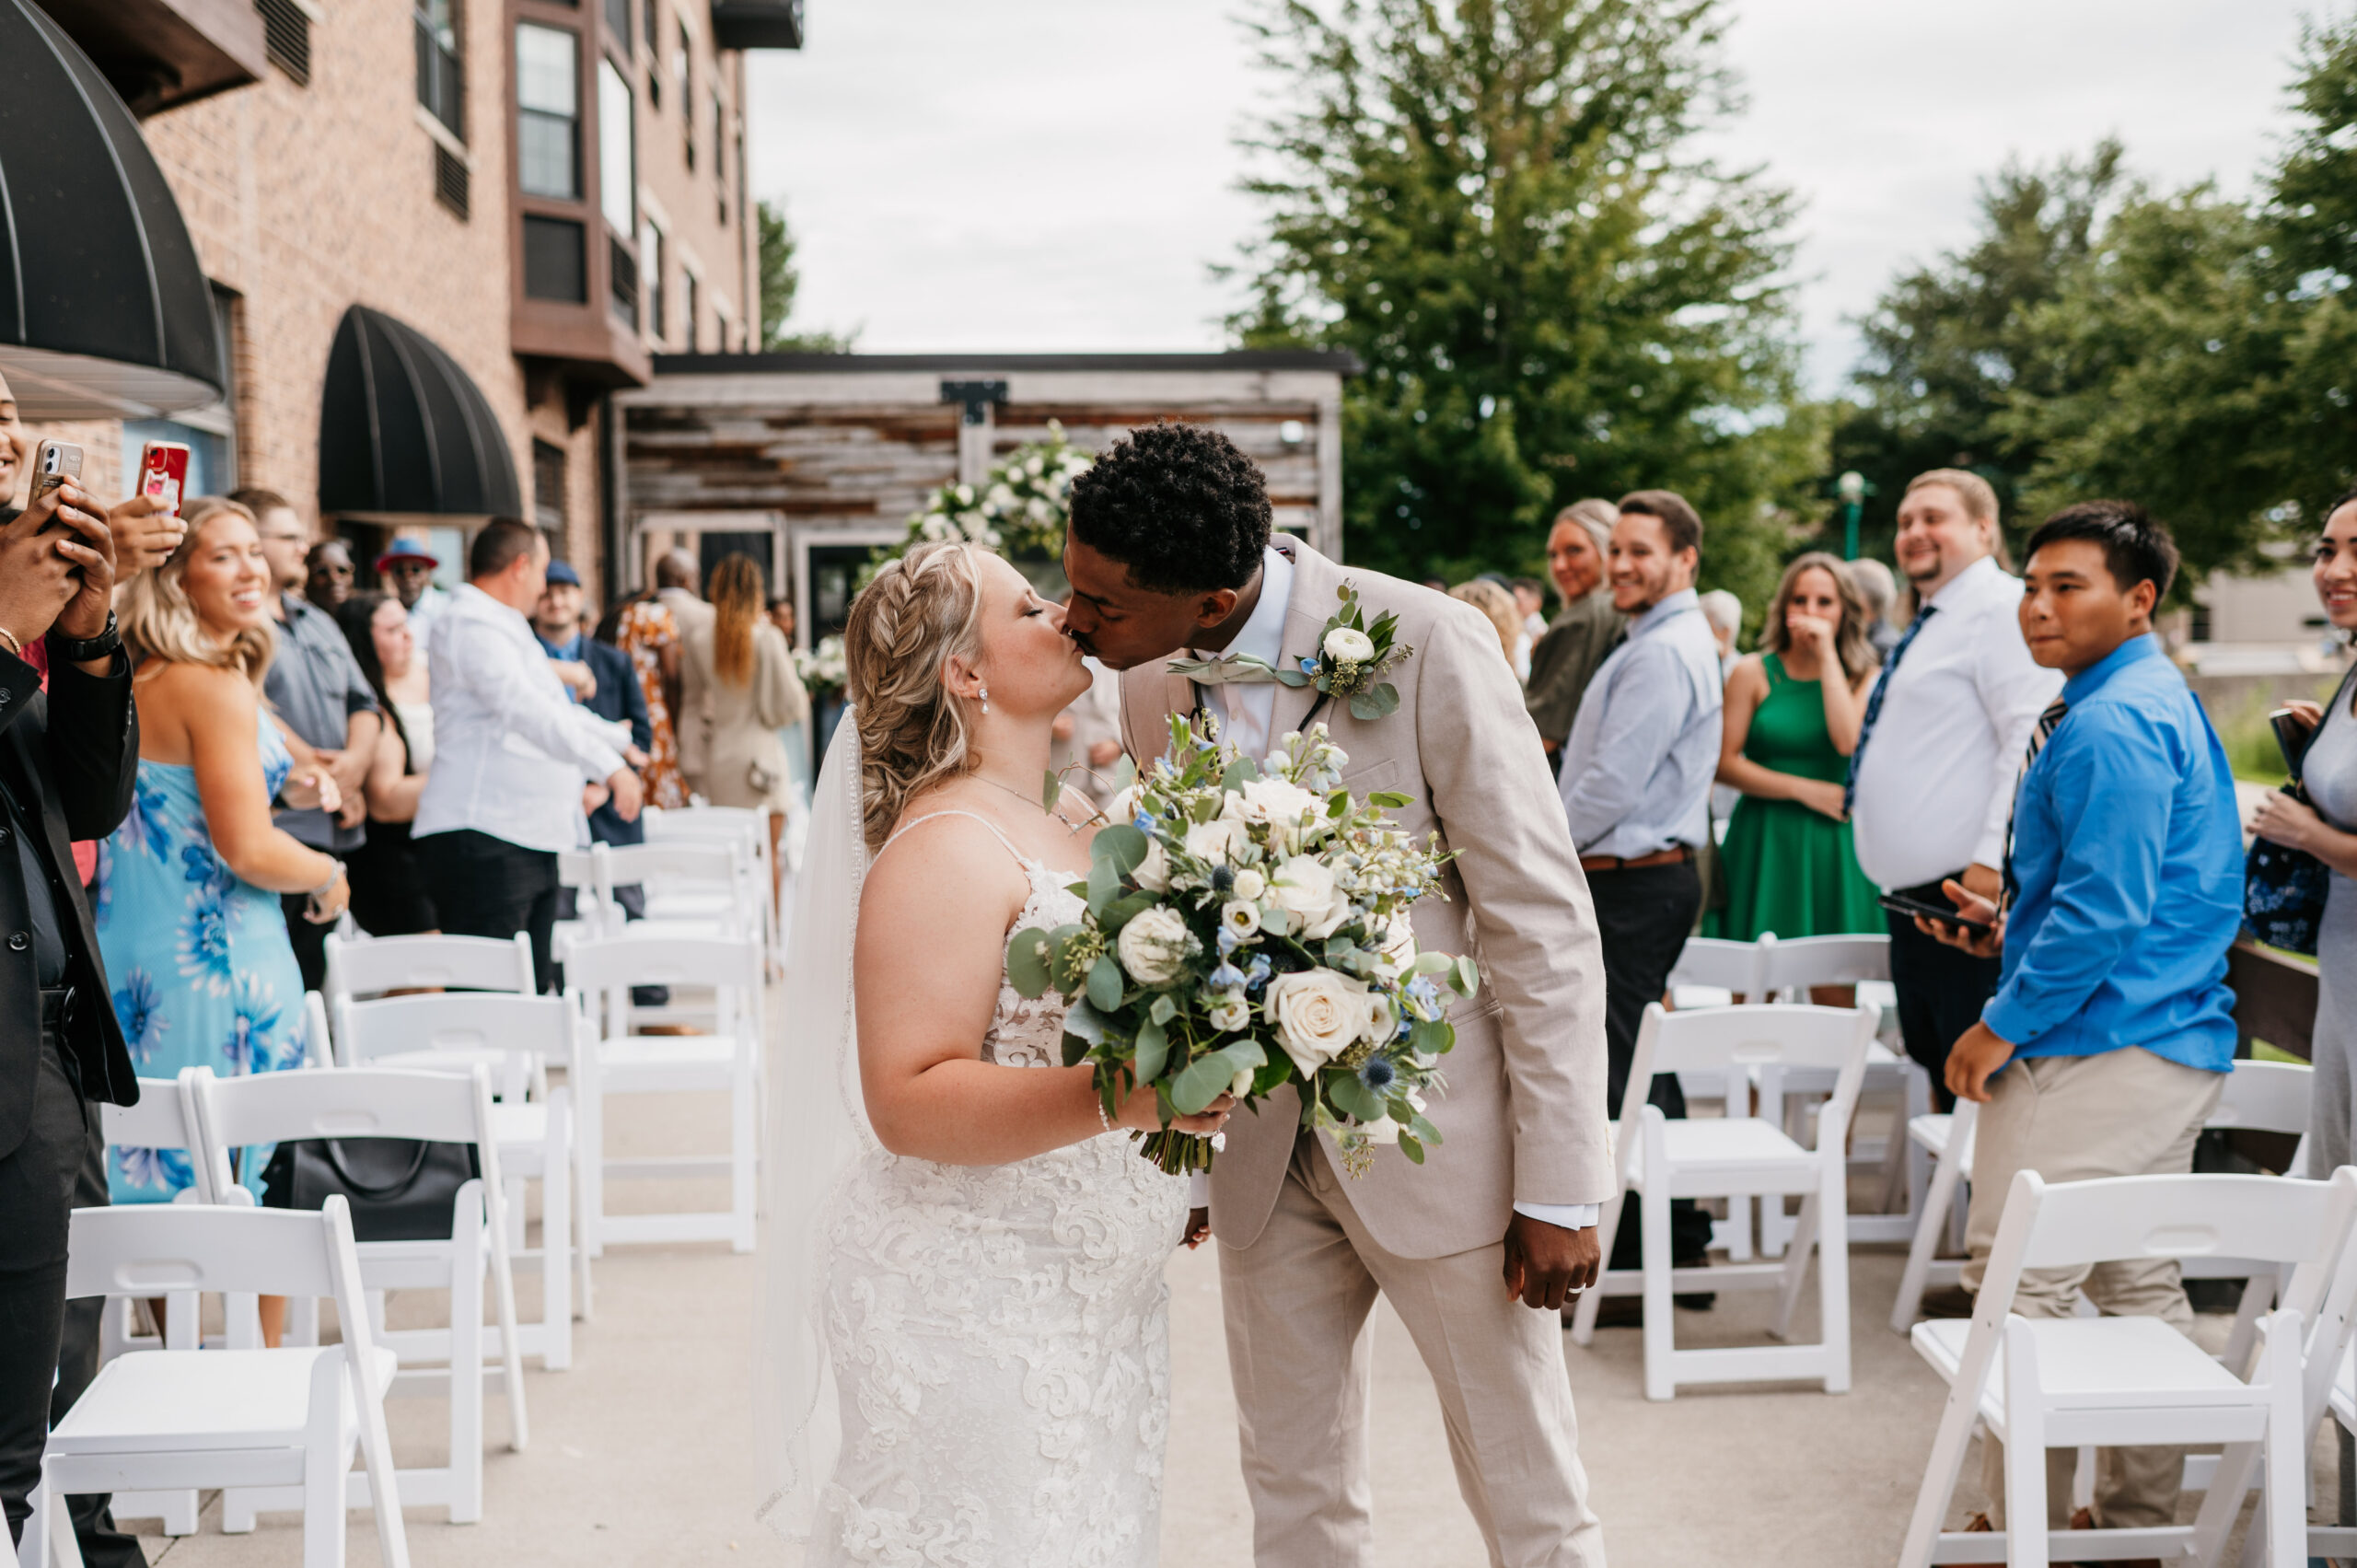
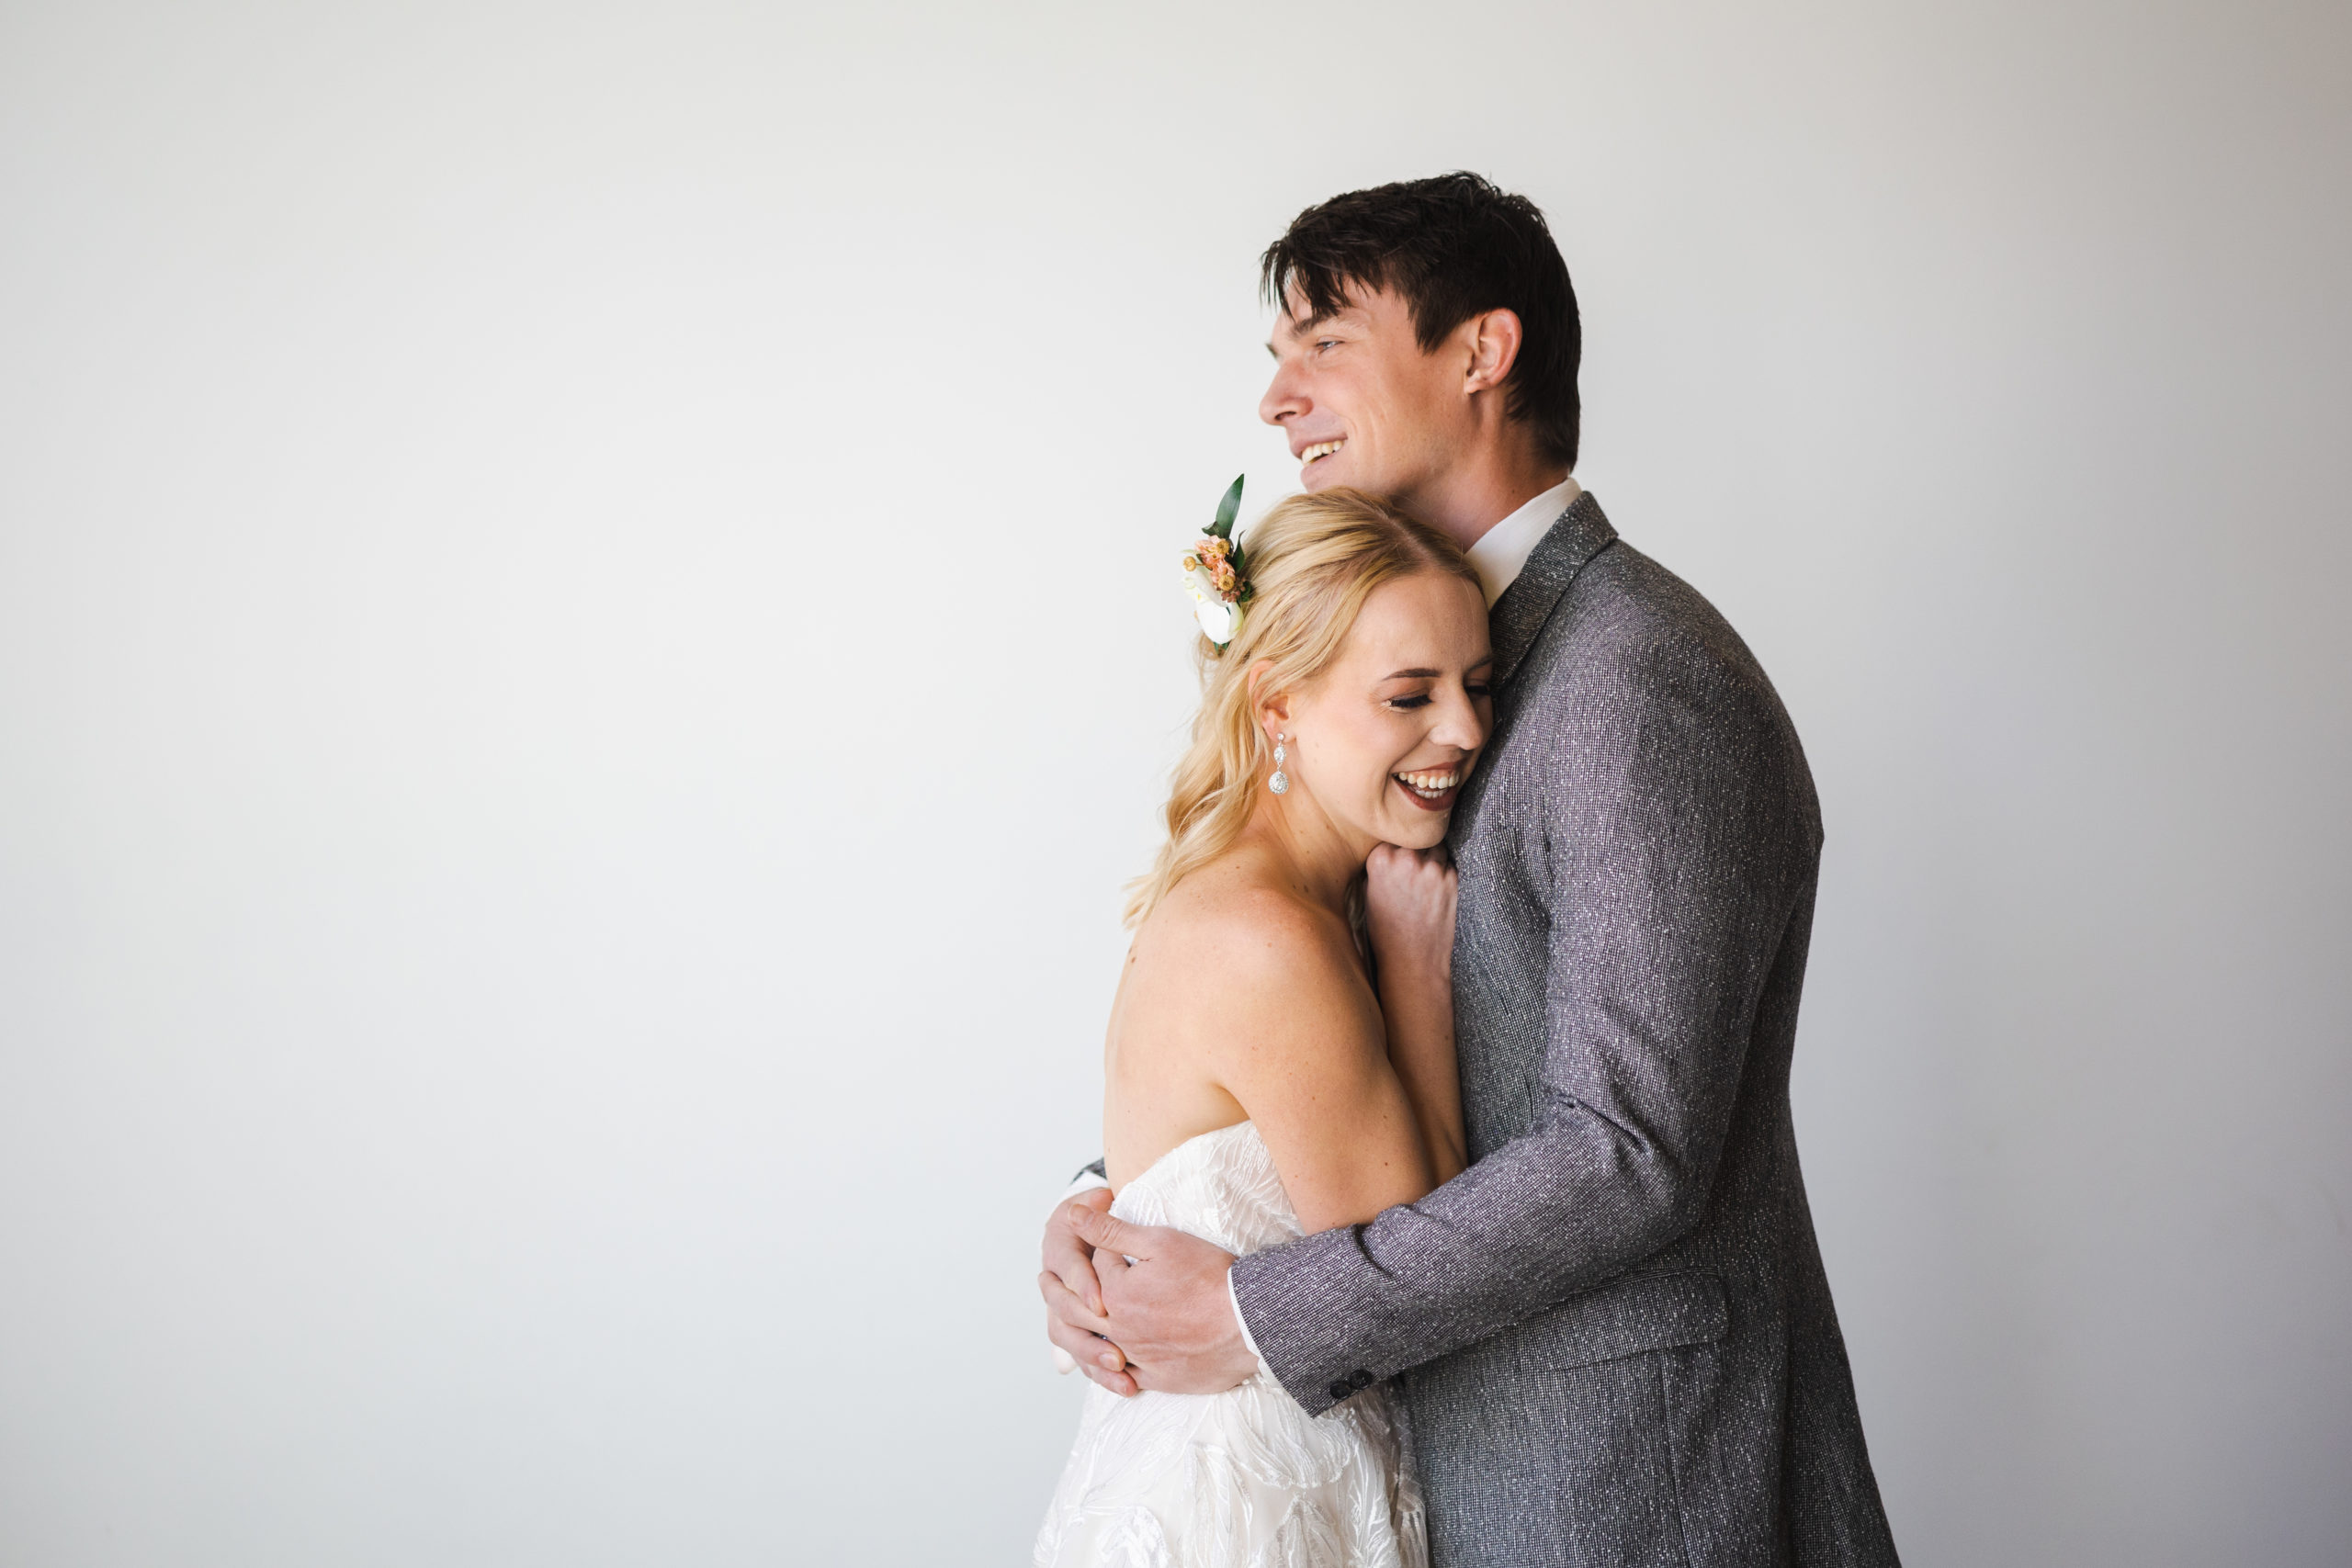
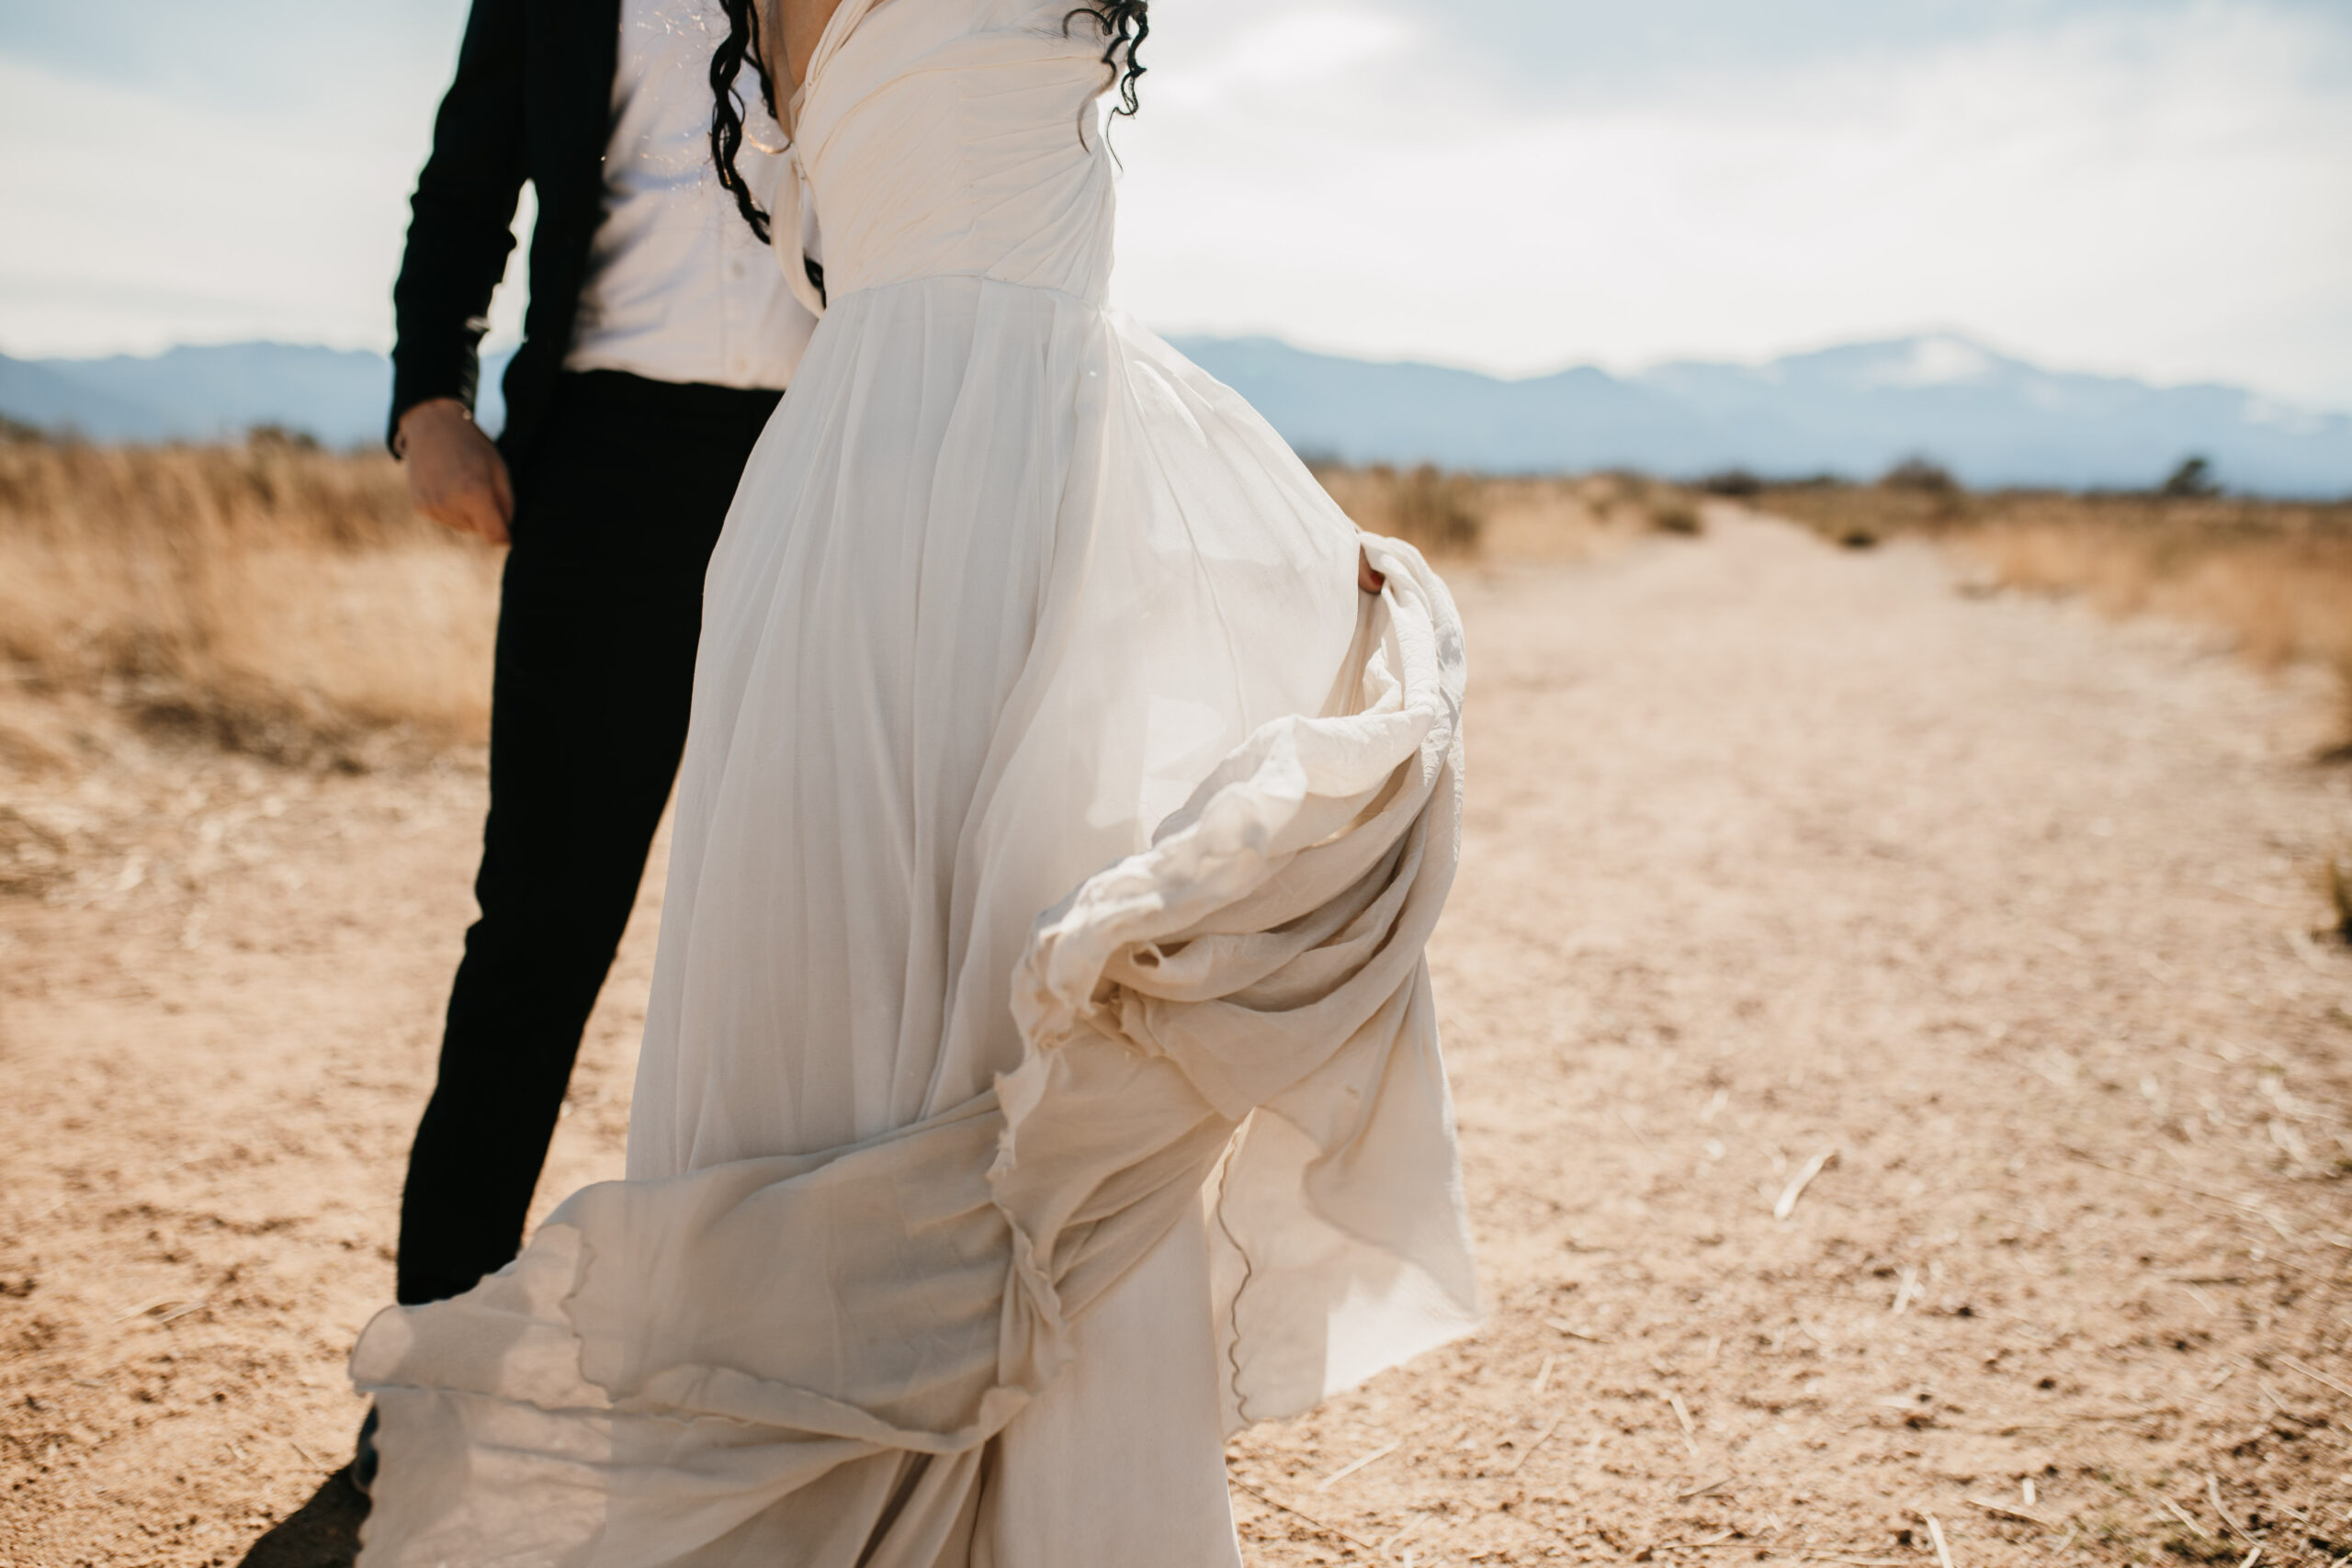
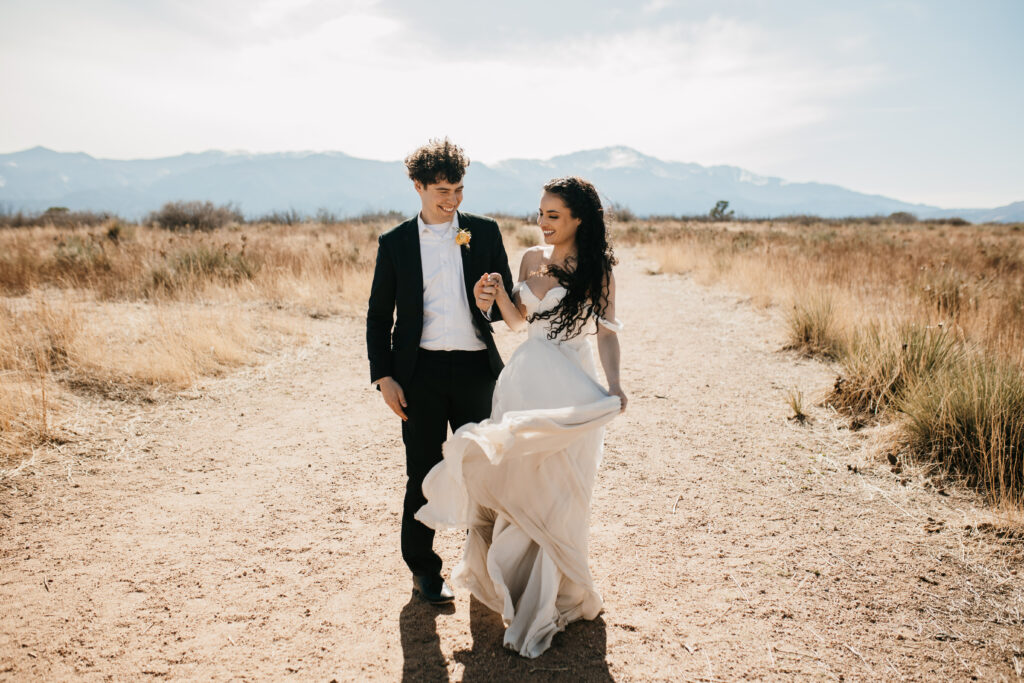
Okay, brides. If you’re like most of us, the days you’ll spend donning a gown and your finest accessories are numbered. So why not enjoy a day of pampering and a photo shoot that’s all your own, completely stress free? Do I have your attention? Let’s talk about the benefits of bridal portraits — and why you should definitely take them!

What is a Bridal Portrait Session?
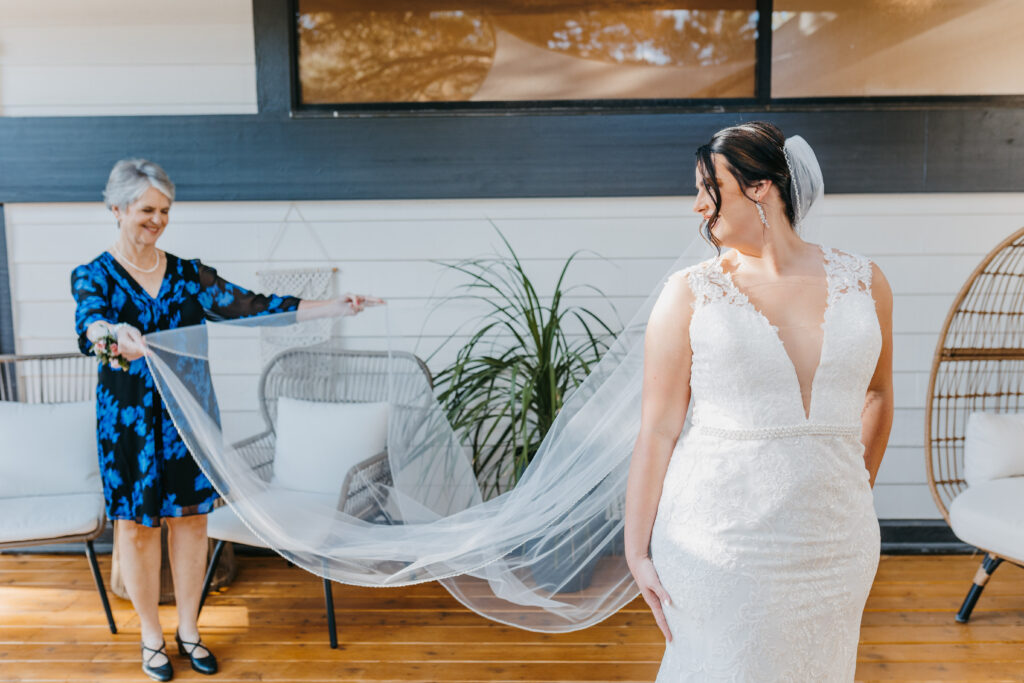
A bridal portrait session is an extra photo shoot, specially for the bride. Typically taking place a few weeks or a month before the big day, this tradition dates all the way back to World War II! And while this session is super fun, these bridal portraits offer the opportunity to both celebrate and preserve the occasion of your wedding (and your days as a bride) for generations.
Why should I take Bridal Portraits?
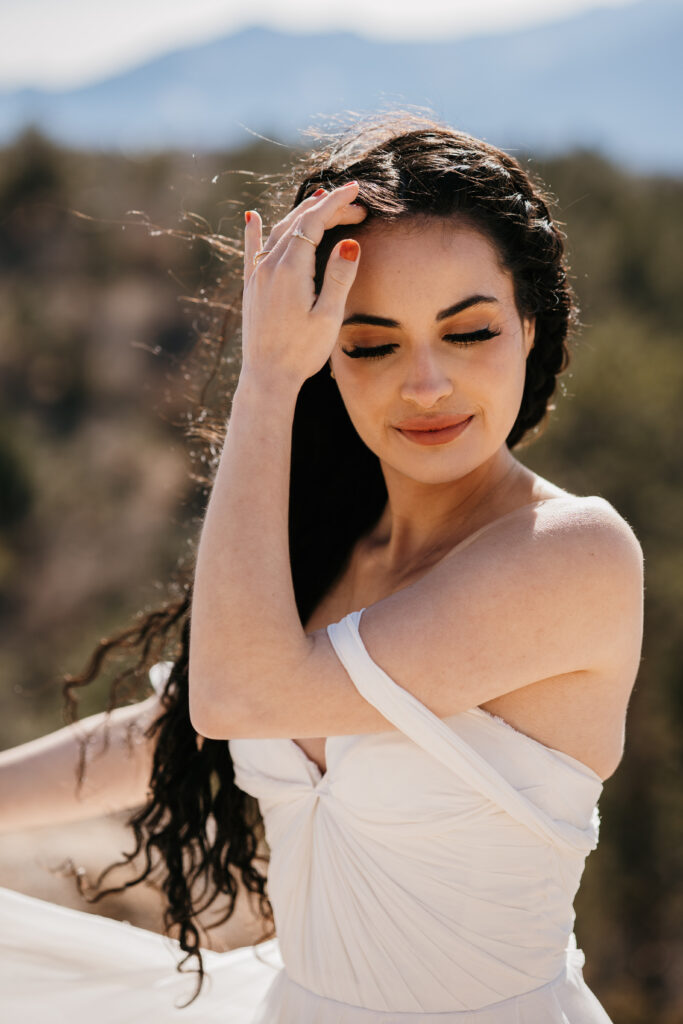
1. It’s the ultimate test run. A hair and makeup trial is likely on your to-do list already, right? So why waste your look on a day of errands? Scheduling a bridal portrait session in conjunction with your final fittings is a perfect trial for your beauty routine, hair style, makeup look, accessories — even your photographer! This is a great chance to get to know the person shooting your big day, and it helps them get a feel for your personality, too. It’s a win-win all around!
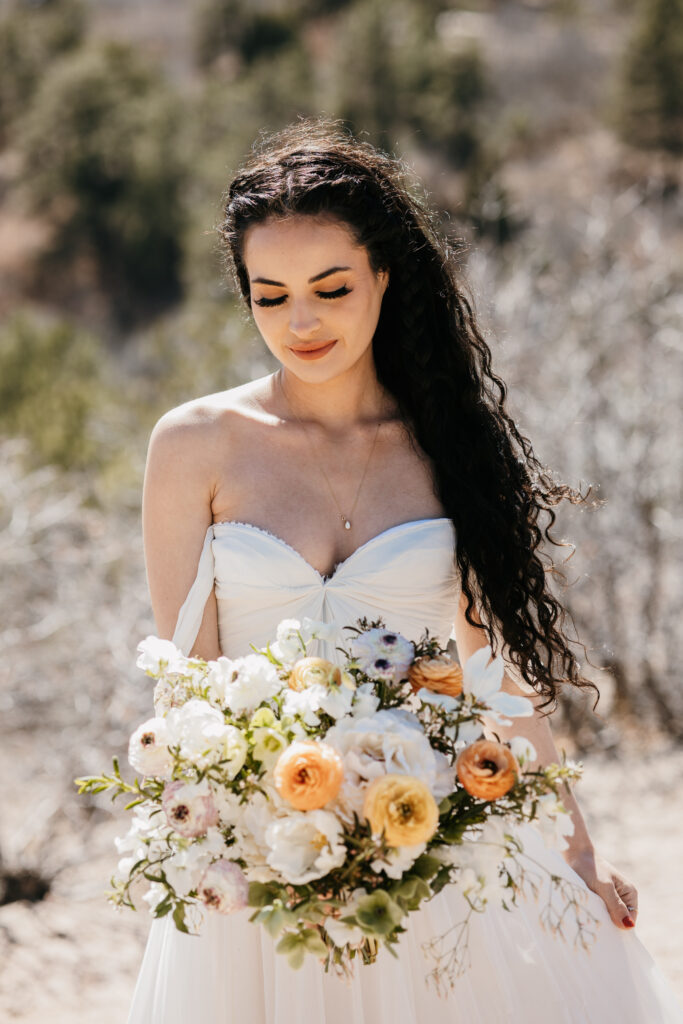
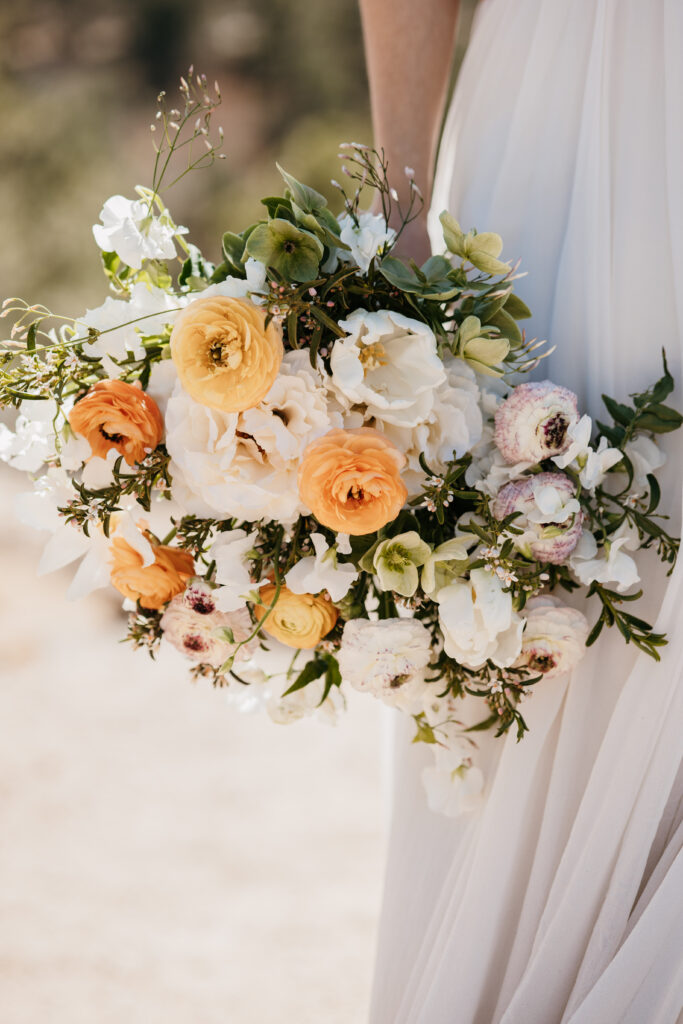
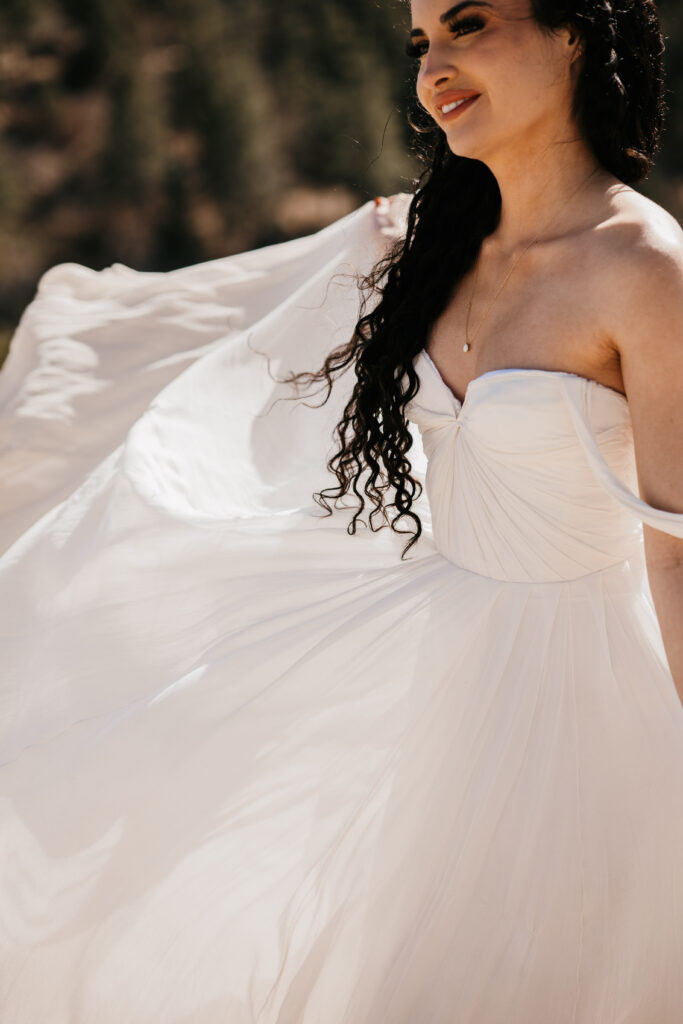
2. Document the details… stress free! Let’s face it. You spend a lot of time and money choosing the perfect dress, the perfect shoes, the perfect jewelry, etc. So can there really be too many pictures of the finished look? This is a once-in-a-lifetime ensemble, and a really special time in your life! Capture the moment and commemorate your wedding day with a session that’s all about you. Spend the day getting glammed up, then enjoy showing off the details you’ve worked so hard to create without the tight wedding day schedule or other stresses of the big day.
3. Give yourself options. With a separate bridal shoot already out of the way, when the wedding day comes, you’ve already saved yourself a ton of time! More time means less stress, and more space for your photographer to capture the day itself, extra family photos, wedding party shots, etc. You’ll also have extra bridal portrait options to choose from for canvases, prints, framing, gifts, wedding albums… you get the idea.

Tips for a successful Bridal Portrait session
1. Be creative! This is your chance to design your perfect photoshoot, so choose a unique location and let your personality shine.
2. Bring your squad. Will your mom, MOH or siblings be helping with your bussell or train? Will someone be on flyaway hair duty, or lipstick reapply reminder? Bring those helpers with you to your bridal portraits! It’s good practice for everyone so there’s no wardrobe surprises on the big day.
3. Have FUN! Since you’ll look gorgeous and have your besties in tow, why not make a day of it? Bridal portrait sessions are stress free, and a great opportunity to unbury yourself from the details and stresses of planning to focus on FUN. This chapter of your life will only happen once. It’s important to enjoy every minute!
Ready to reach out? Check out my wedding and portrait packages, then click through some of my work. I believe your wedding should be an unforgettable experience, culminating in stunning, timeless photos that will make your heart swell — ones you’ll be proud to share for generations!

/
When it comes to choosing the details of your wedding day, research is important. After all, you’re marrying the love of your life—a literal dream come true! Choosing a wedding photographer should be no different. After you’ve chosen some final candidates, it’s time to get serious. Here are five important questions to ask your wedding photographer:
1. “How would you describe your style?”
If a photographer has a distinguished brand, and can effectively communicate that style to you, they’ve proven that they’re taking this task as seriously as you are. Good partners play to their strengths, and photographers are no different. Knowing those strengths, acknowledging them, and using them to capture your dream day in the best possible way will give you an intentional partnership, and someone you can trust to deliver. Simply put, being prepared to answer this question is as important as the answer itself—that’s why it’s one of the most important questions to ask your wedding photographer.

2. “Does the package I’m interested in include an assistant?”
Some wedding photographers bring along a second set of hands on the big day since there’s so much to capture (think someone capturing the bride’s big entrance while someone else captures the groom’s reaction). Others have fine-tuned their process of being a well-oiled, one-person show. The important question to ask your wedding photographer? What will you get for the price you’re paying? There’s nothing worse than wanting another set of hands and eyes, only to find out that will push you over budget.
3. “What happens in case of emergency?”
Just like planning for rain with an outdoor wedding venue, contingency plans should be in place with your photographer, too. Traffic jams happen, as does sickness, equipment failure and schedule delays. If any emergency situations transpire, trust me, you’ll have enough surprises on your hands! Knowing what to expect in the event things don’t go as planned can give you peace of mind where your photos are concerned—and proof your photographer is professional enough to have thought these things through.
4. “What can I expect after the big day?”
Unlike most of your other vendors, your photographer’s involvement doesn’t end after “I do.” So what comes next? When can you expect to have your images? How many will there be, and how will they be delivered? Will they be color-corrected? Will you have a say in how they’re edited? All of these are important questions to ask your wedding photographer. The less guesswork, the better—even after the big day.
5. “What does your day’s schedule look like?”
Most photographers will list their on-the-clock hours in the details of the package you select, but what about the exact schedule of your big day? How early would they like to arrive at the venue? If the wedding/reception lasts beyond the agreed upon hours, will they stay to grab those final departure shots? How much will that additional time cost? Are they working any other events that weekend? All of these answers will give you an honest look at a photographer’s ability to dedicate themself to your event with no surprises.
If you’ve checked out my work and are ready to inquire, now’s the time to reach out and get started. Send me a message. I’m happy to answer all of these important questions and more as we create an unforgettable experience—one that results in timeless, joy-filled photos that make your heart swell!